
🕓 Last updated: July 17, 2025
Why You Should Regularly Clean Your Faucet Head
Before diving into the actual steps of how to clean a faucet head, it’s important to understand why this simple maintenance task matters.
- Improved Water Pressure: Mineral buildup can clog the openings in your faucet, restricting water flow.
- Health and Hygiene: Damp, warm faucet heads are the perfect environment for mold, bacteria, and biofilm.
- Better Water Quality: A clean faucet head ensures that your tap water tastes and smells better.
- Longer Faucet Lifespan: Regular cleaning helps prevent corrosion and wear caused by limescale and debris.
If you live in a hard water area, you’re especially prone to calcium and limescale deposits, making it even more important to know how to clean a faucet head properly and regularly.
Step-by-Step Guide: How to Clean a Faucet Head
Here’s a detailed breakdown of how to clean a faucet head using simple, effective methods that won’t take more than an hour of your time.
- Remove the Faucet Head (If Possible)
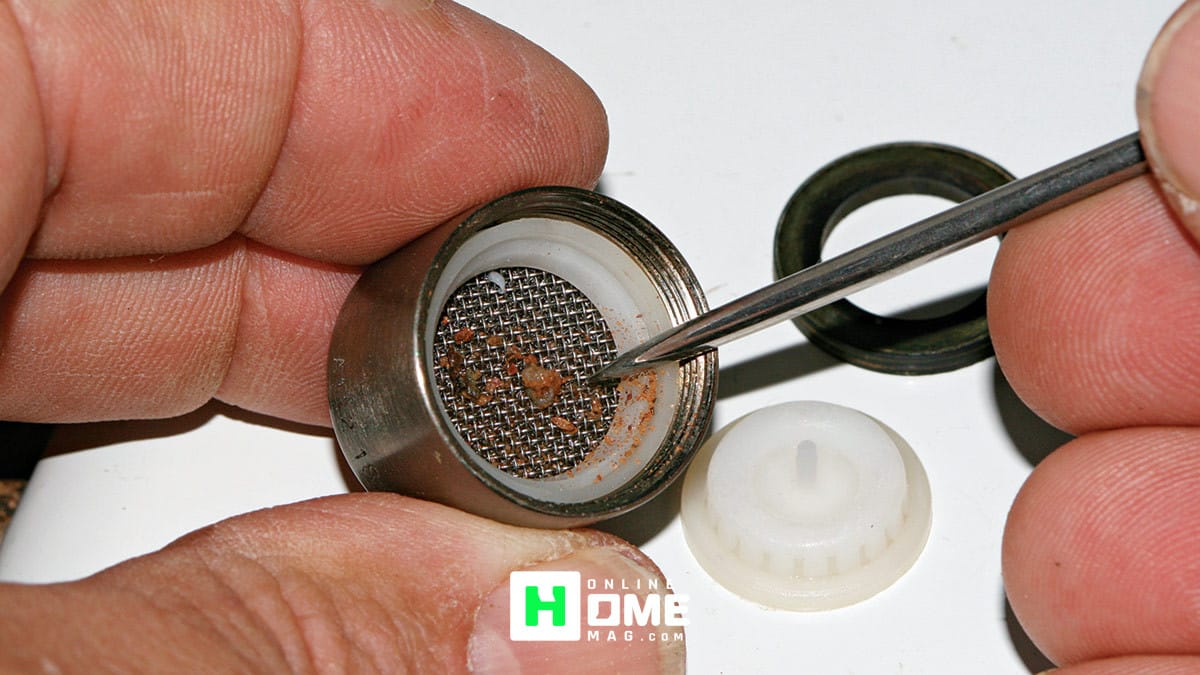
If your faucet head or aerator is removable, begin by unscrewing it. Most heads come off easily by hand. If it’s stuck, use pliers—but first wrap the head in a soft towel to protect the finish. Detaching the faucet head allows you to clean it thoroughly from the inside out. - Soak in Vinegar
Fill a bowl with white vinegar and fully submerge the faucet head. Let it soak for 30 to 60 minutes. This soaking process is critical in how to clean a faucet head because vinegar naturally dissolves limescale, calcium, and other mineral deposits that block water flow. - Scrub With a Toothbrush
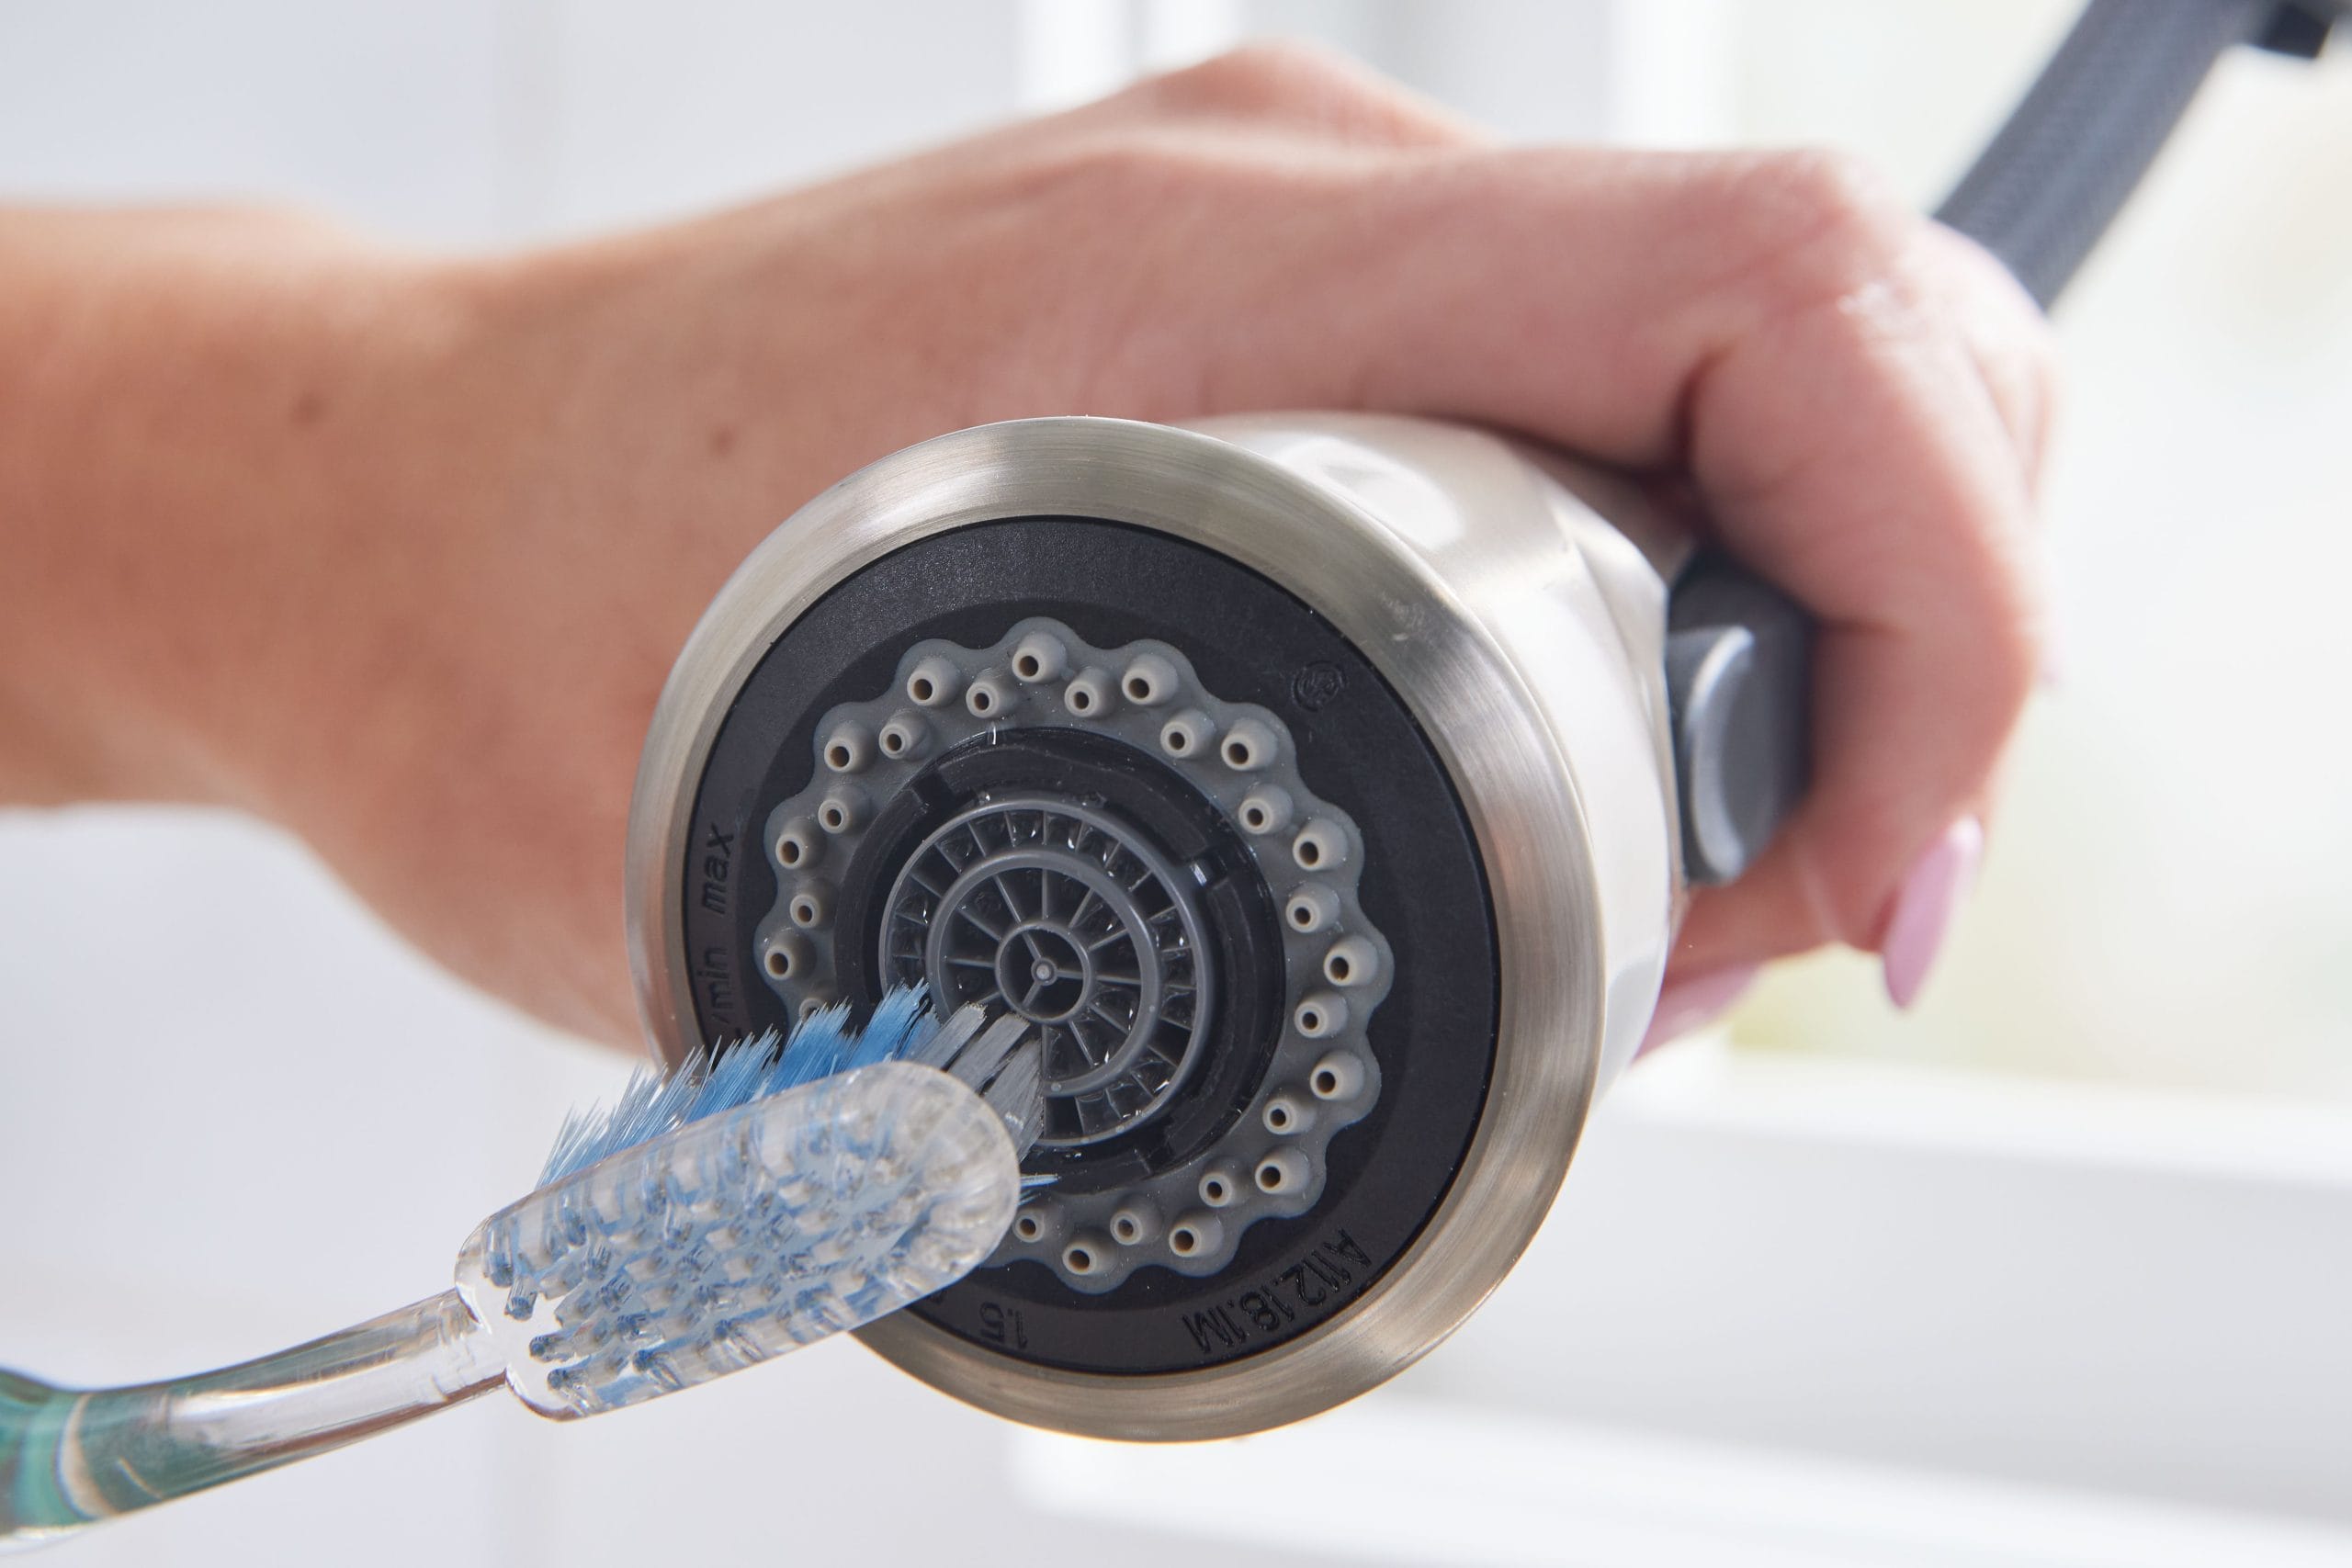
Once soaked, use an old toothbrush to scrub the faucet head, especially around the nozzle holes and crevices. If buildup remains, gently poke through the holes using a toothpick or safety pin. This part of how to clean a faucet head ensures that no residue is left behind to block water pressure. - Rinse and Reattach
Rinse the faucet head under warm water to remove loosened debris and vinegar. Screw it back onto the faucet and turn on the water. You should now see a noticeable improvement in flow and clarity. That’s the power of knowing how to clean a faucet head effectively.
Signs Your Faucet Head Needs Cleaning
Not sure when it’s time to clean? Here are common signs that indicate it’s time to put your knowledge of how to clean a faucet head to good use:
- Reduced or uneven water flow
- Water splashing in random directions
- Brown or greenish stains around the faucet openings
- Gurgling or sputtering sounds from the tap
- Unpleasant smell coming from the faucet water
If you’ve noticed any of these symptoms, don’t wait—clean your faucet head today.
![]()
How Often Should You Clean Your Faucet Head?
Knowing how to clean a faucet head is important—but so is knowing when. Follow these general guidelines for best results:
- Every 1 to 2 months if you live in a hard water area
- Every 3 months in areas with soft water
- Immediately whenever you notice reduced water flow or discoloration
Consistent maintenance keeps your faucet in top shape and your water fresh and clean.
Common Types of Faucet Heads (and How to Clean Each)
Different faucet styles may affect how to clean a faucet head, so it helps to know what kind you’re working with:
- Standard Aerator Faucets: These screw off easily and are perfect for vinegar soaking and brushing.
- Pull-Down Kitchen Faucets: Often non-removable; instead, use a vinegar-filled bag secured with a rubber band to soak the head in place.
- Rainfall or Waterfall Faucets: These may require professional disassembly. If removable, follow the same soaking and scrubbing method.
In all cases, adapting your approach ensures you’re still using the most effective method for how to clean a faucet head without damaging it.
Bonus Tip: Preventing Future Buildup
Now that you know how to clean a faucet head, let’s talk about prevention:
- Install a water softener if you live in a hard water area
- Wipe the faucet dry after each use
- Use filtered water when possible
- Do a quick vinegar rinse every couple of weeks
These habits can make the process of how to clean a faucet head less frequent and easier each time.
Final Thoughts
Learning how to clean a faucet head isn’t just a one-time fix—it’s a smart routine that improves your water quality, faucet performance, and overall hygiene. With just a little vinegar, an old toothbrush, and a few minutes of your time, you can eliminate buildup, restore strong water pressure, and keep your home running smoothly.
Make how to clean a faucet head a regular part of your home maintenance checklist. You’ll thank yourself with every clear, fresh glass of water.