🕓 Last updated: July 16, 2025
Let’s Do This—Step by Step, Together!
You don’t need fancy tools or harsh chemicals — just a little time, care, and the right method.
Let’s walk through each step to get your air fryer looking (and smelling) like new.
Step 1: Unplug, Cool Down, and Break It All Apart
Before anything else, unplug your air fryer and let it cool completely. No exceptions. Cleaning a hot appliance (especially one with electrical parts) is both dangerous and damaging.
Once it’s cool, remove all the detachable parts: the basket, tray, pan, or any extra racks. These are the parts that usually collect the most oil and crumbs.
Think of this step as breaking down your air fryer into manageable pieces — because cleaning is way easier when you’re not fighting tight corners and awkward angles.
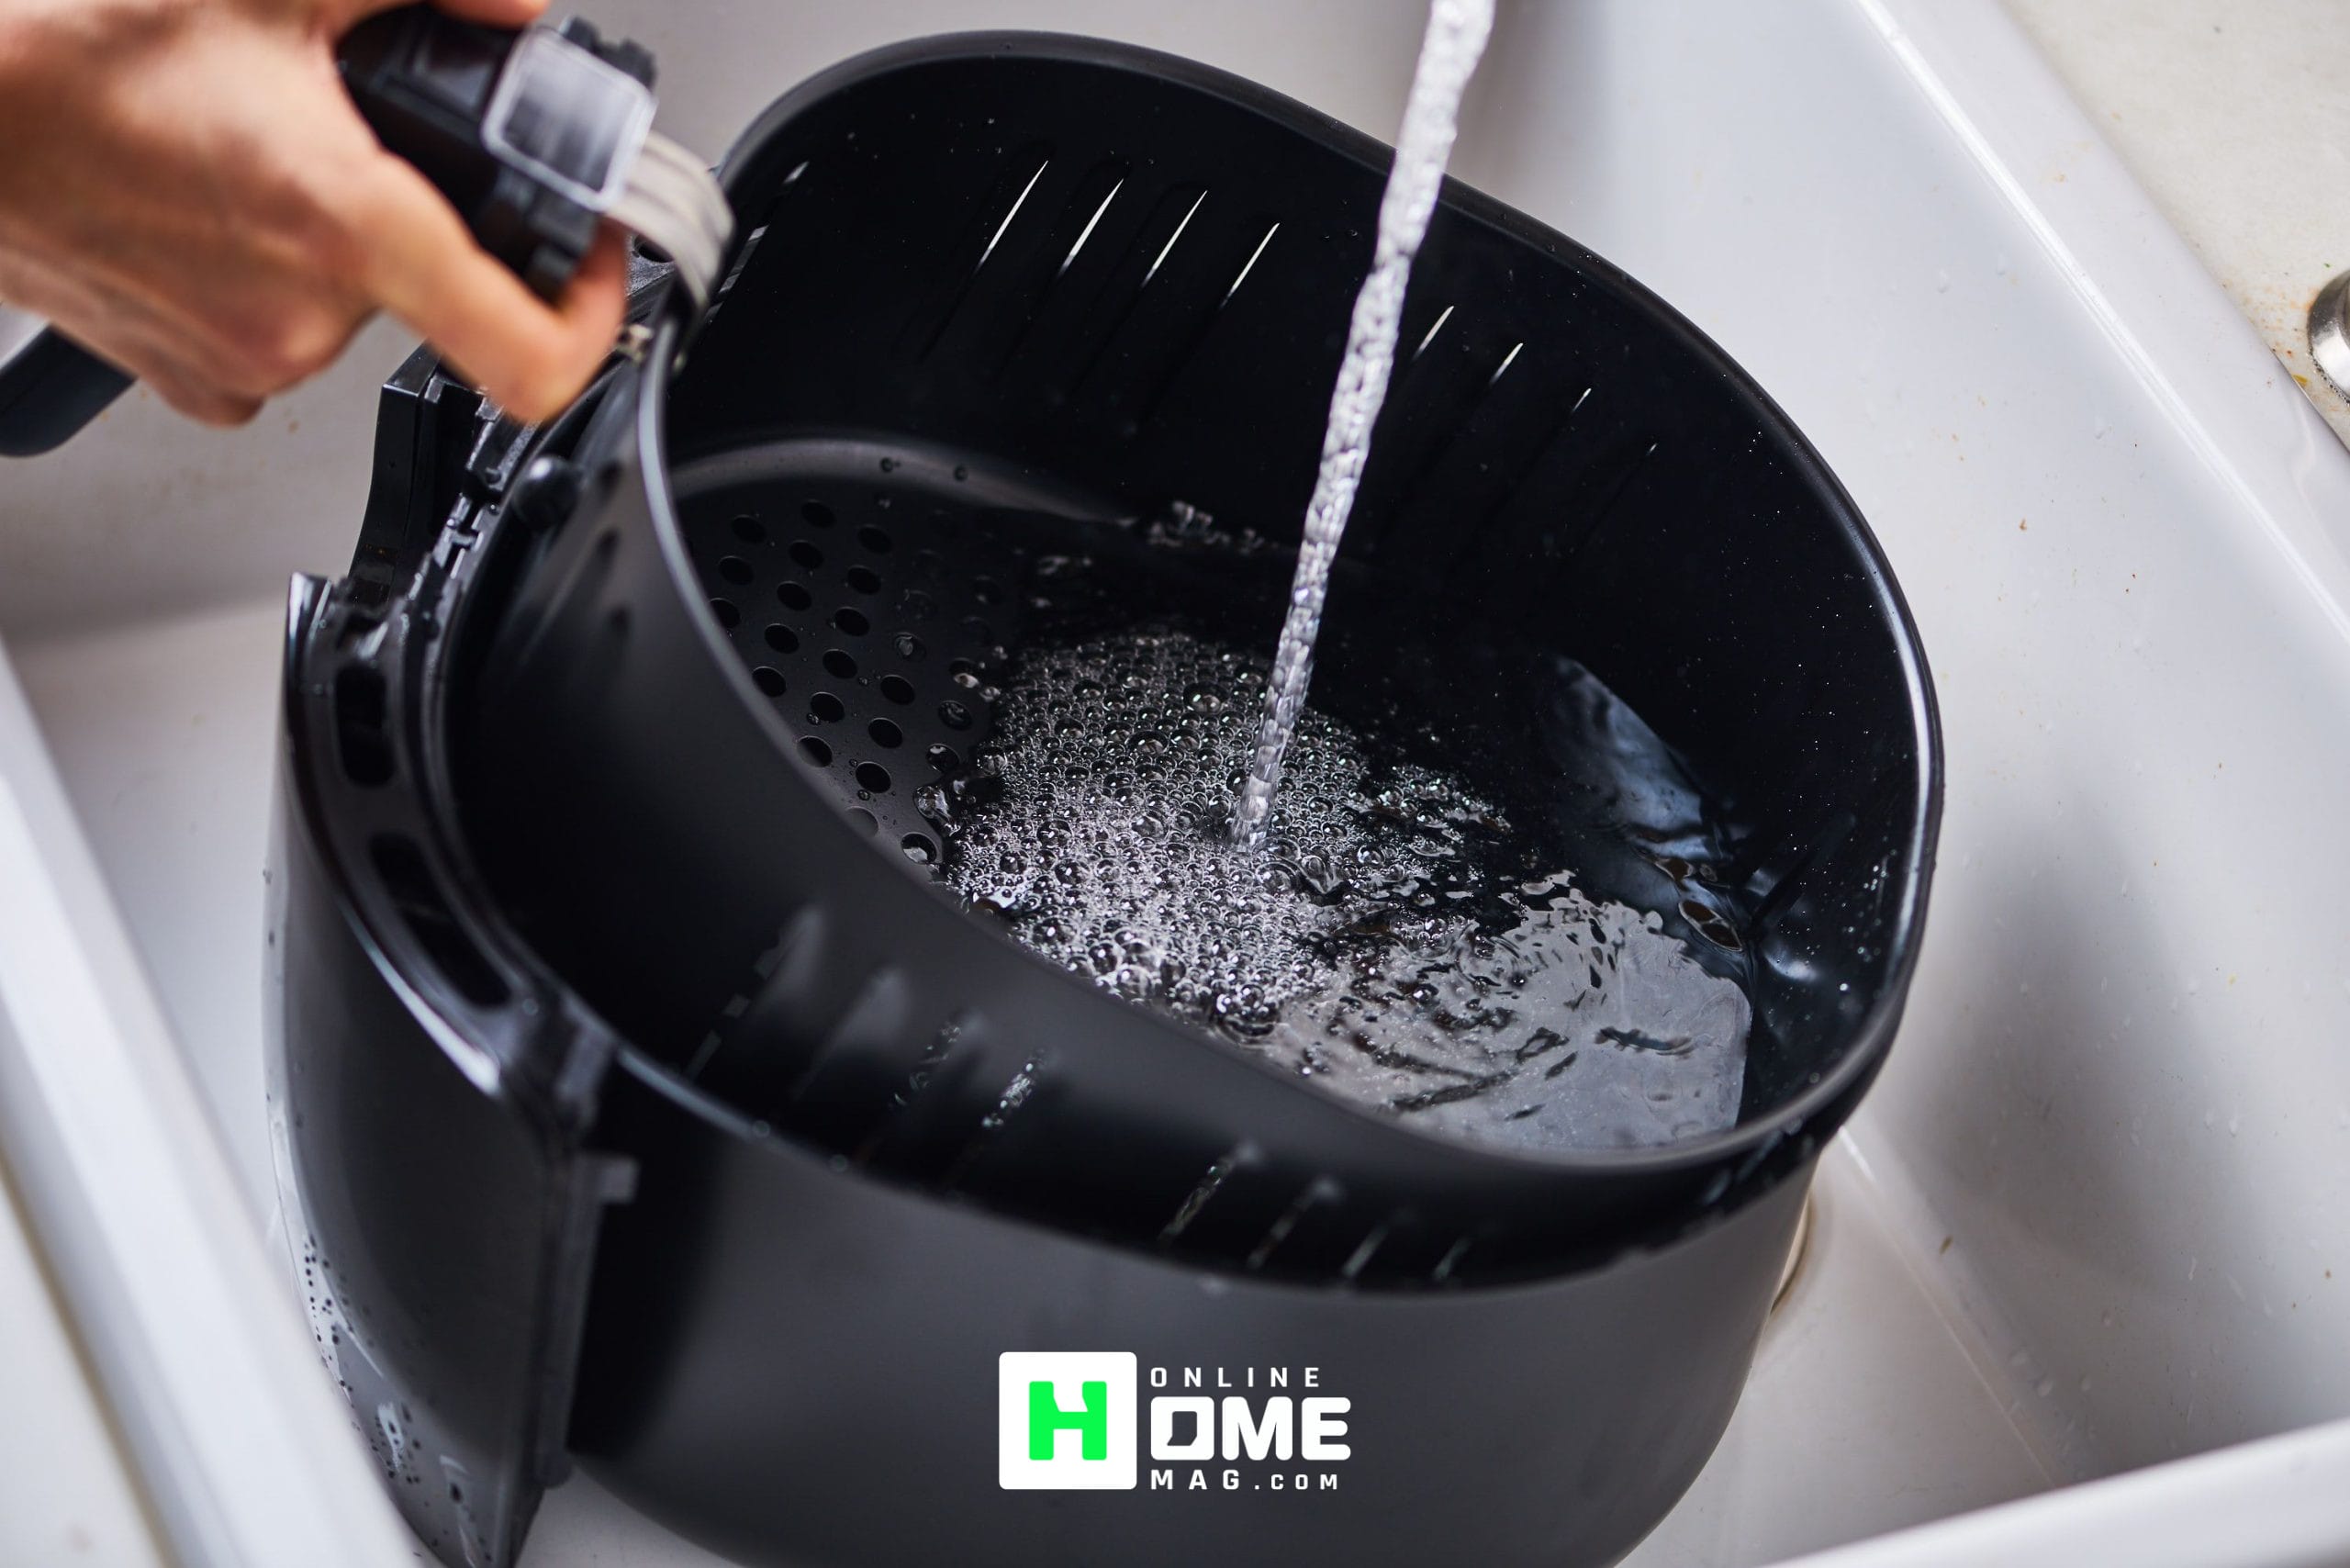
Step 2: Soak the Removable Parts (Let the Water Do the Work)
Fill your sink with warm water and add a few drops of gentle dish soap. Drop in the basket, tray, and other removable pieces, then let them soak for 15–20 minutes.
That soak gives the soap time to break down oil, grease, and stuck-on food, so you don’t have to do all the work with your hands later.
Pro tip: For stubborn stains or funky odors, add a tablespoon of white vinegar or lemon juice to the water. It’s a natural degreaser and deodorizer in one.
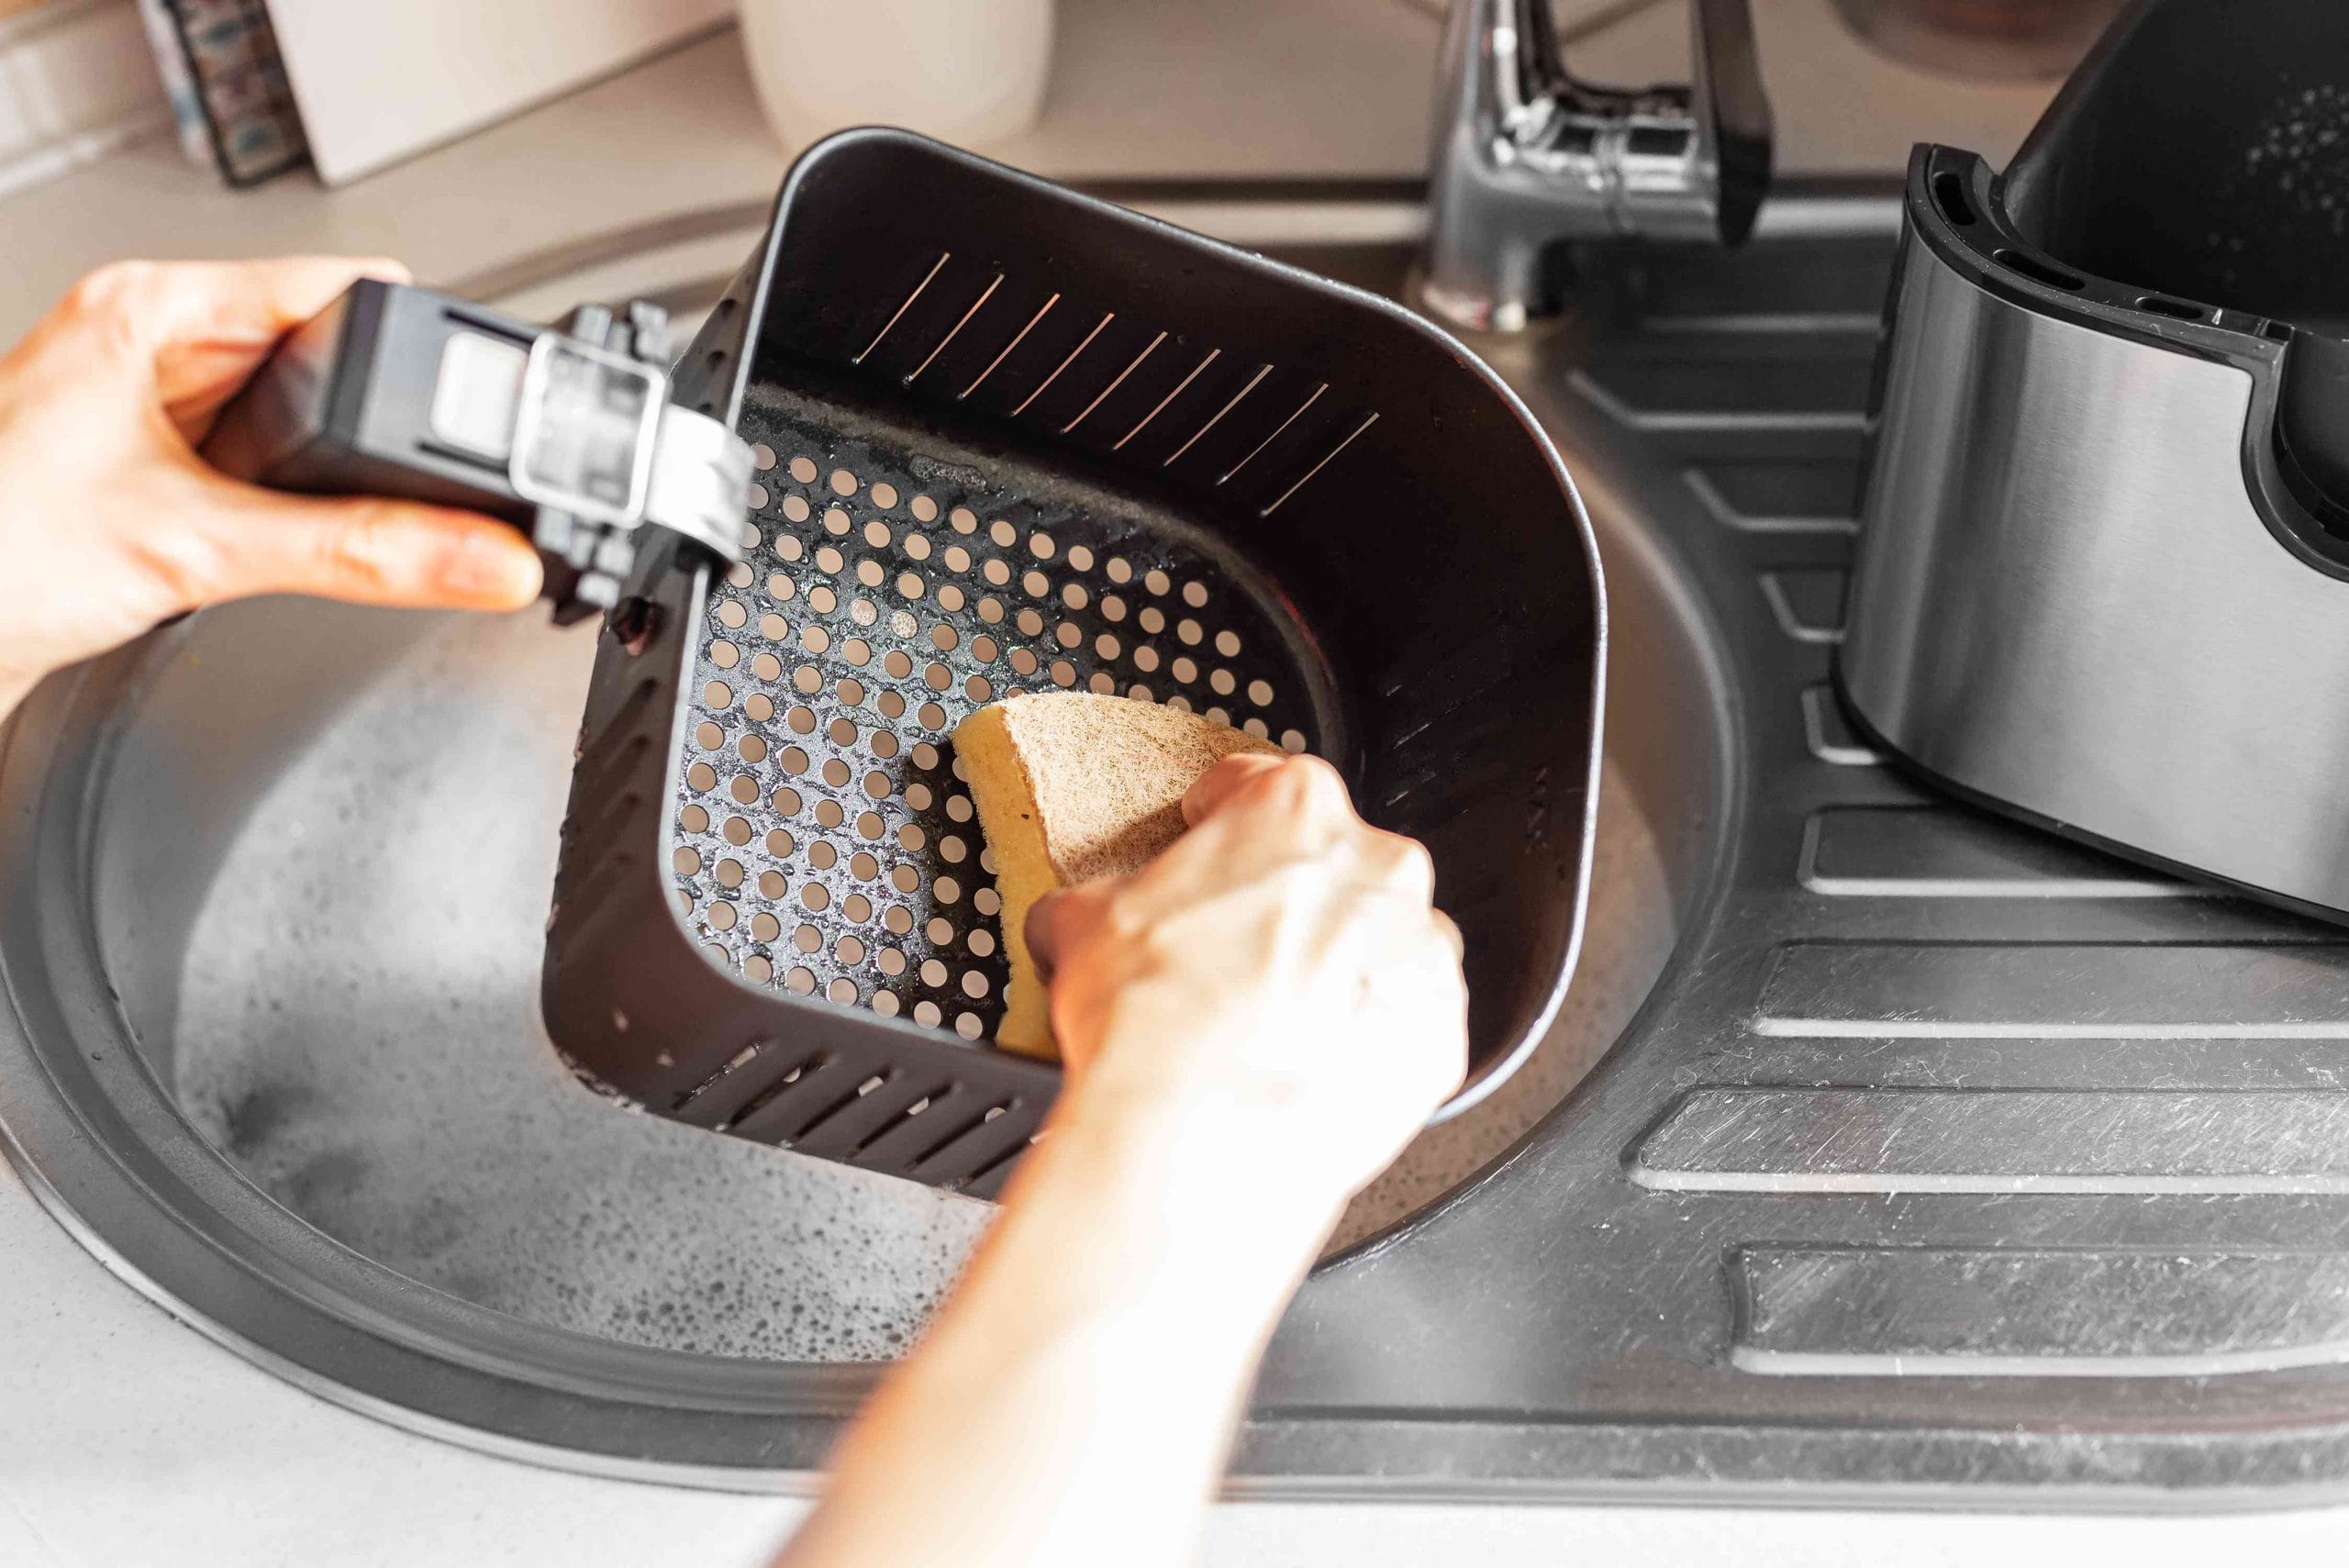
Step 3: Gently Scrub with the Right Tools (No Steel Wool Allowed)
Now that the parts have soaked, use a soft sponge or an old toothbrush to gently scrub them clean. Be thorough — but gentle. Avoid anything abrasive like steel wool or rough scrubbers that can scratch or chip the non-stick surface.
For narrow corners or mesh parts, a toothbrush works wonders. Got gunk that still won’t budge? Make a paste with baking soda and water, dab it on, wait 5–10 minutes, then scrub again.
Step 4: Wipe Down the Interior (No Soaking Allowed)
Now it’s time to clean the inside of the main unit — the one part you never want to submerge or soak.
Dampen a microfiber cloth with warm, soapy water. Wipe down the interior walls carefully. Avoid dripping water near the heating coil or into the base.
Use cotton swabs or a soft brush to clean small corners or grease traps. If the inside is greasy or smelly, a quick swipe with a vinegar-dampened cloth helps freshen things up.
Warning: Never spray cleaner directly into the unit, and never pour water inside.
Step 5: Clean the Heating Element (Upside-Down Trick)
Flip the air fryer upside down to get a good view of the heating element. Use a soft brush or damp cloth to gently wipe off any dust or splattered grease.
If there’s a greasy film, a bit of vinegar on a cloth or sponge can help break it down. Be extremely gentle — damaging the coil can affect how well your air fryer heats.
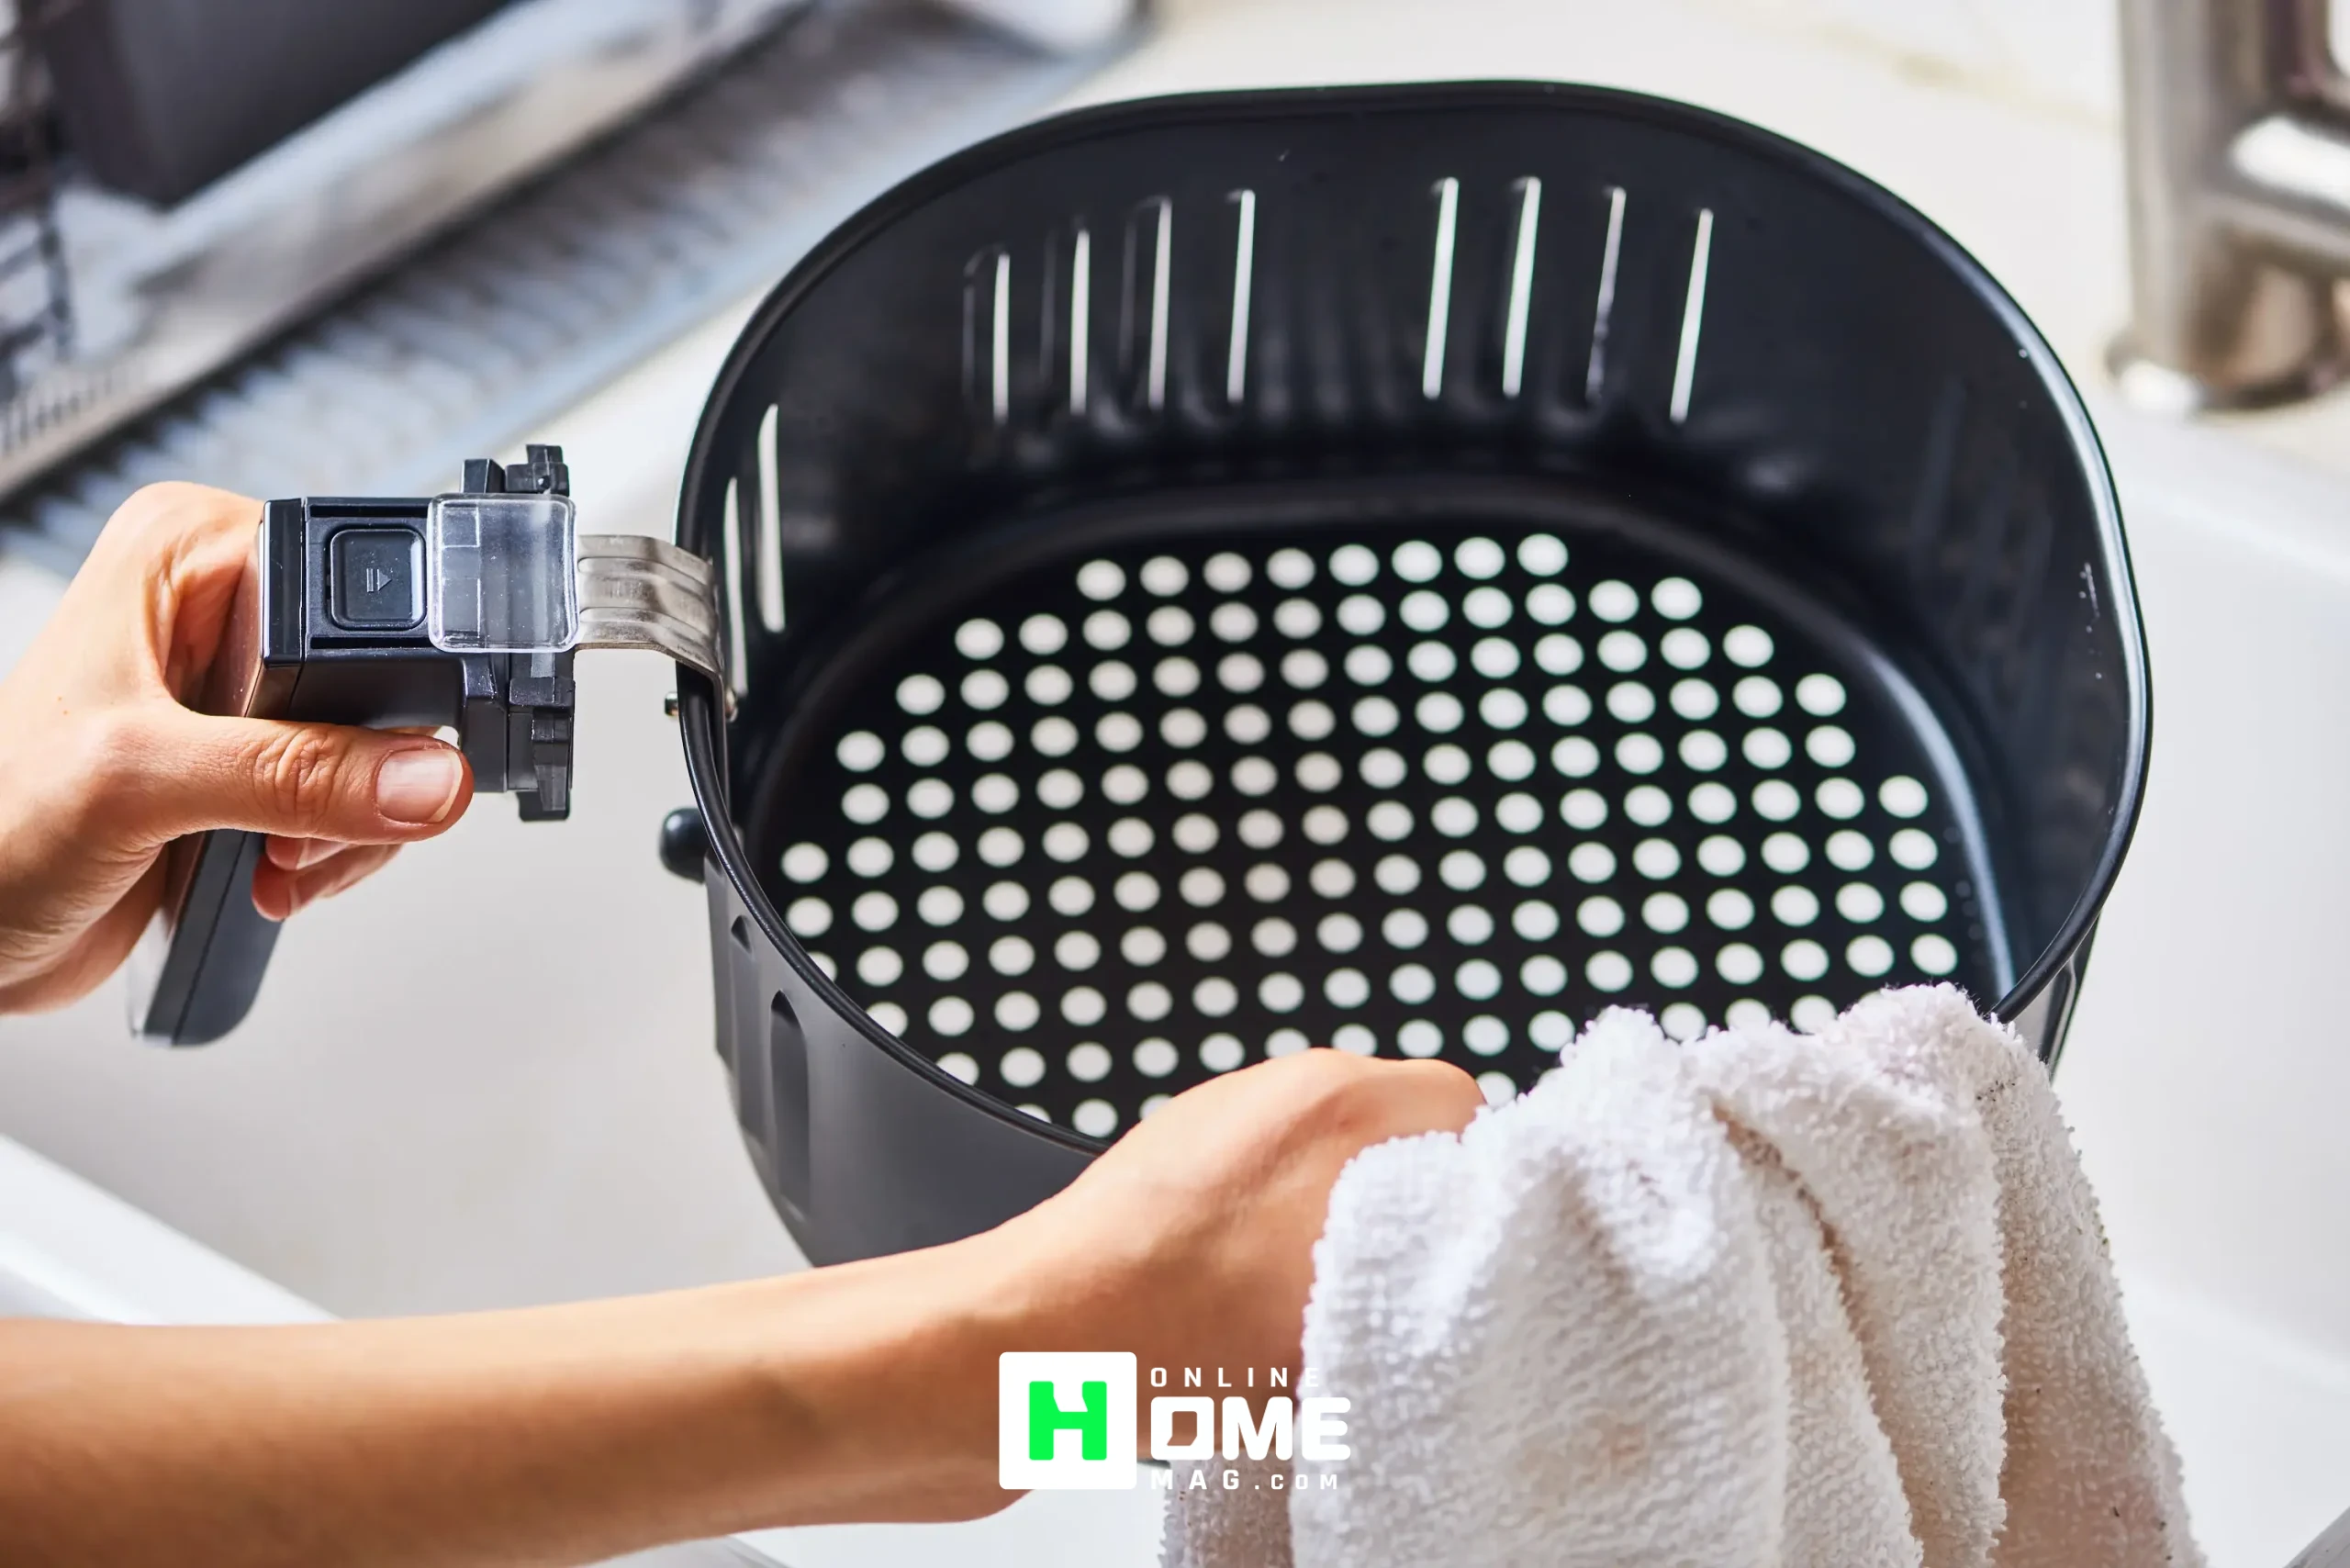
Step 6: Dry Everything Completely
Before you reassemble anything, make sure every piece is completely dry — especially the electrical parts.
Use a soft towel to dry each item thoroughly. Let them air dry a bit longer if needed. Moisture trapped inside the machine can lead to mold, odors, or even electrical issues over time.
Step 7: Reassemble and Admire Your Work
Put everything back together, plug it in, and smile. You just gave your air fryer the reset it needed — and it’ll reward you with better-tasting food and smoother performance.
Bonus Tips to Keep Your Air Fryer Cleaner, Longer:
Want to spend less time deep cleaning and more time enjoying crispy, guilt-free snacks? A few small habits can go a long way. These quick maintenance tips will help you prevent grease buildup, lingering odors, and stuck-on messes between cleanings:
- Use parchment liners or silicone mats in the basket to catch food residue.
- Wipe down the basket and tray after each use, even if it looks “mostly clean.”
- Don’t overload the fryer — air circulation helps keep grease from building up unevenly.
- Clean lightly once a week, and deep clean every 3–4 weeks if you use it often.