
Why Build Storage Cabinets for Living Room?
Buying ready-made furniture can be convenient, but custom-built storage cabinets for living room offer several advantages:
- Tailored to your room dimensions
- Matches your interior décor
- Cost-effective compared to designer cabinets
- Adds value to your home
Tools and Materials You’ll Need for Storage Cabinets for Living Room
Before you begin, gather the following tools and supplies:
Tools:
- Circular saw or table saw
- Drill and bits
- Level
- Measuring tape
- Clamps
- Nail gun or hammer
- Stud finder
Materials:
- Plywood or MDF sheets
- Wood screws and nails
- Wood glue
- Hinges and cabinet handles
- Paint, stain, or finishing coat
- Optional: cabinet doors, trim, soft-close hardware
Step 1: Plan Your Design
Start by evaluating your living room layout. Consider where you’ll place the cabinets — below a TV, next to the sofa, or as part of a feature wall. Sketch your ideal storage cabinets for living room with these tips:
- Measure height, width, and depth
- Choose between open shelving, closed doors, or a combination
- Consider vertical space for extra storage
Step 2: Cut Your Panels
Use your measurements to cut the plywood or MDF into the following parts:
- Two side panels
- Top and bottom panels
- Back panel (optional if attaching directly to wall)
- Shelves and doors (if included)
Tip: Label each piece and double-check measurements before assembly.
Step 3: Assemble the Frame
Lay the side panels vertically, then attach the top and bottom pieces using screws and wood glue. Reinforce the joints with corner brackets if needed. If you’re including a back panel, attach it at this stage. Make sure the frame is square using a carpenter’s square.
Step 4: Add Shelves and Interior Dividers
Install fixed or adjustable shelves depending on your design. Use a level to ensure each shelf is straight. For added strength, secure each shelf with wood glue and screws.
Step 5: Install Cabinet Doors (Optional)
Want a clean, minimalist look? Add doors with concealed hinges for a seamless finish. Make sure doors align properly and open smoothly. Soft-close hardware can give your storage cabinets for living room a high-end feel.
Step 6: Sand, Paint, or Stain
Smooth all surfaces with fine-grit sandpaper. Then, apply primer followed by your chosen paint or wood stain. Let each coat dry completely before adding a second. Finish with a protective clear coat to increase durability.
Step 7: Mount or Position the Cabinet
If wall-mounted, locate the studs and securely anchor your cabinet. For freestanding cabinets, use furniture pads to protect the floor and keep the unit level. Add handles, knobs, or decorative accents.
Design Ideas for Storage Cabinets for Living Room
Need inspiration? Here are some stylish ideas:
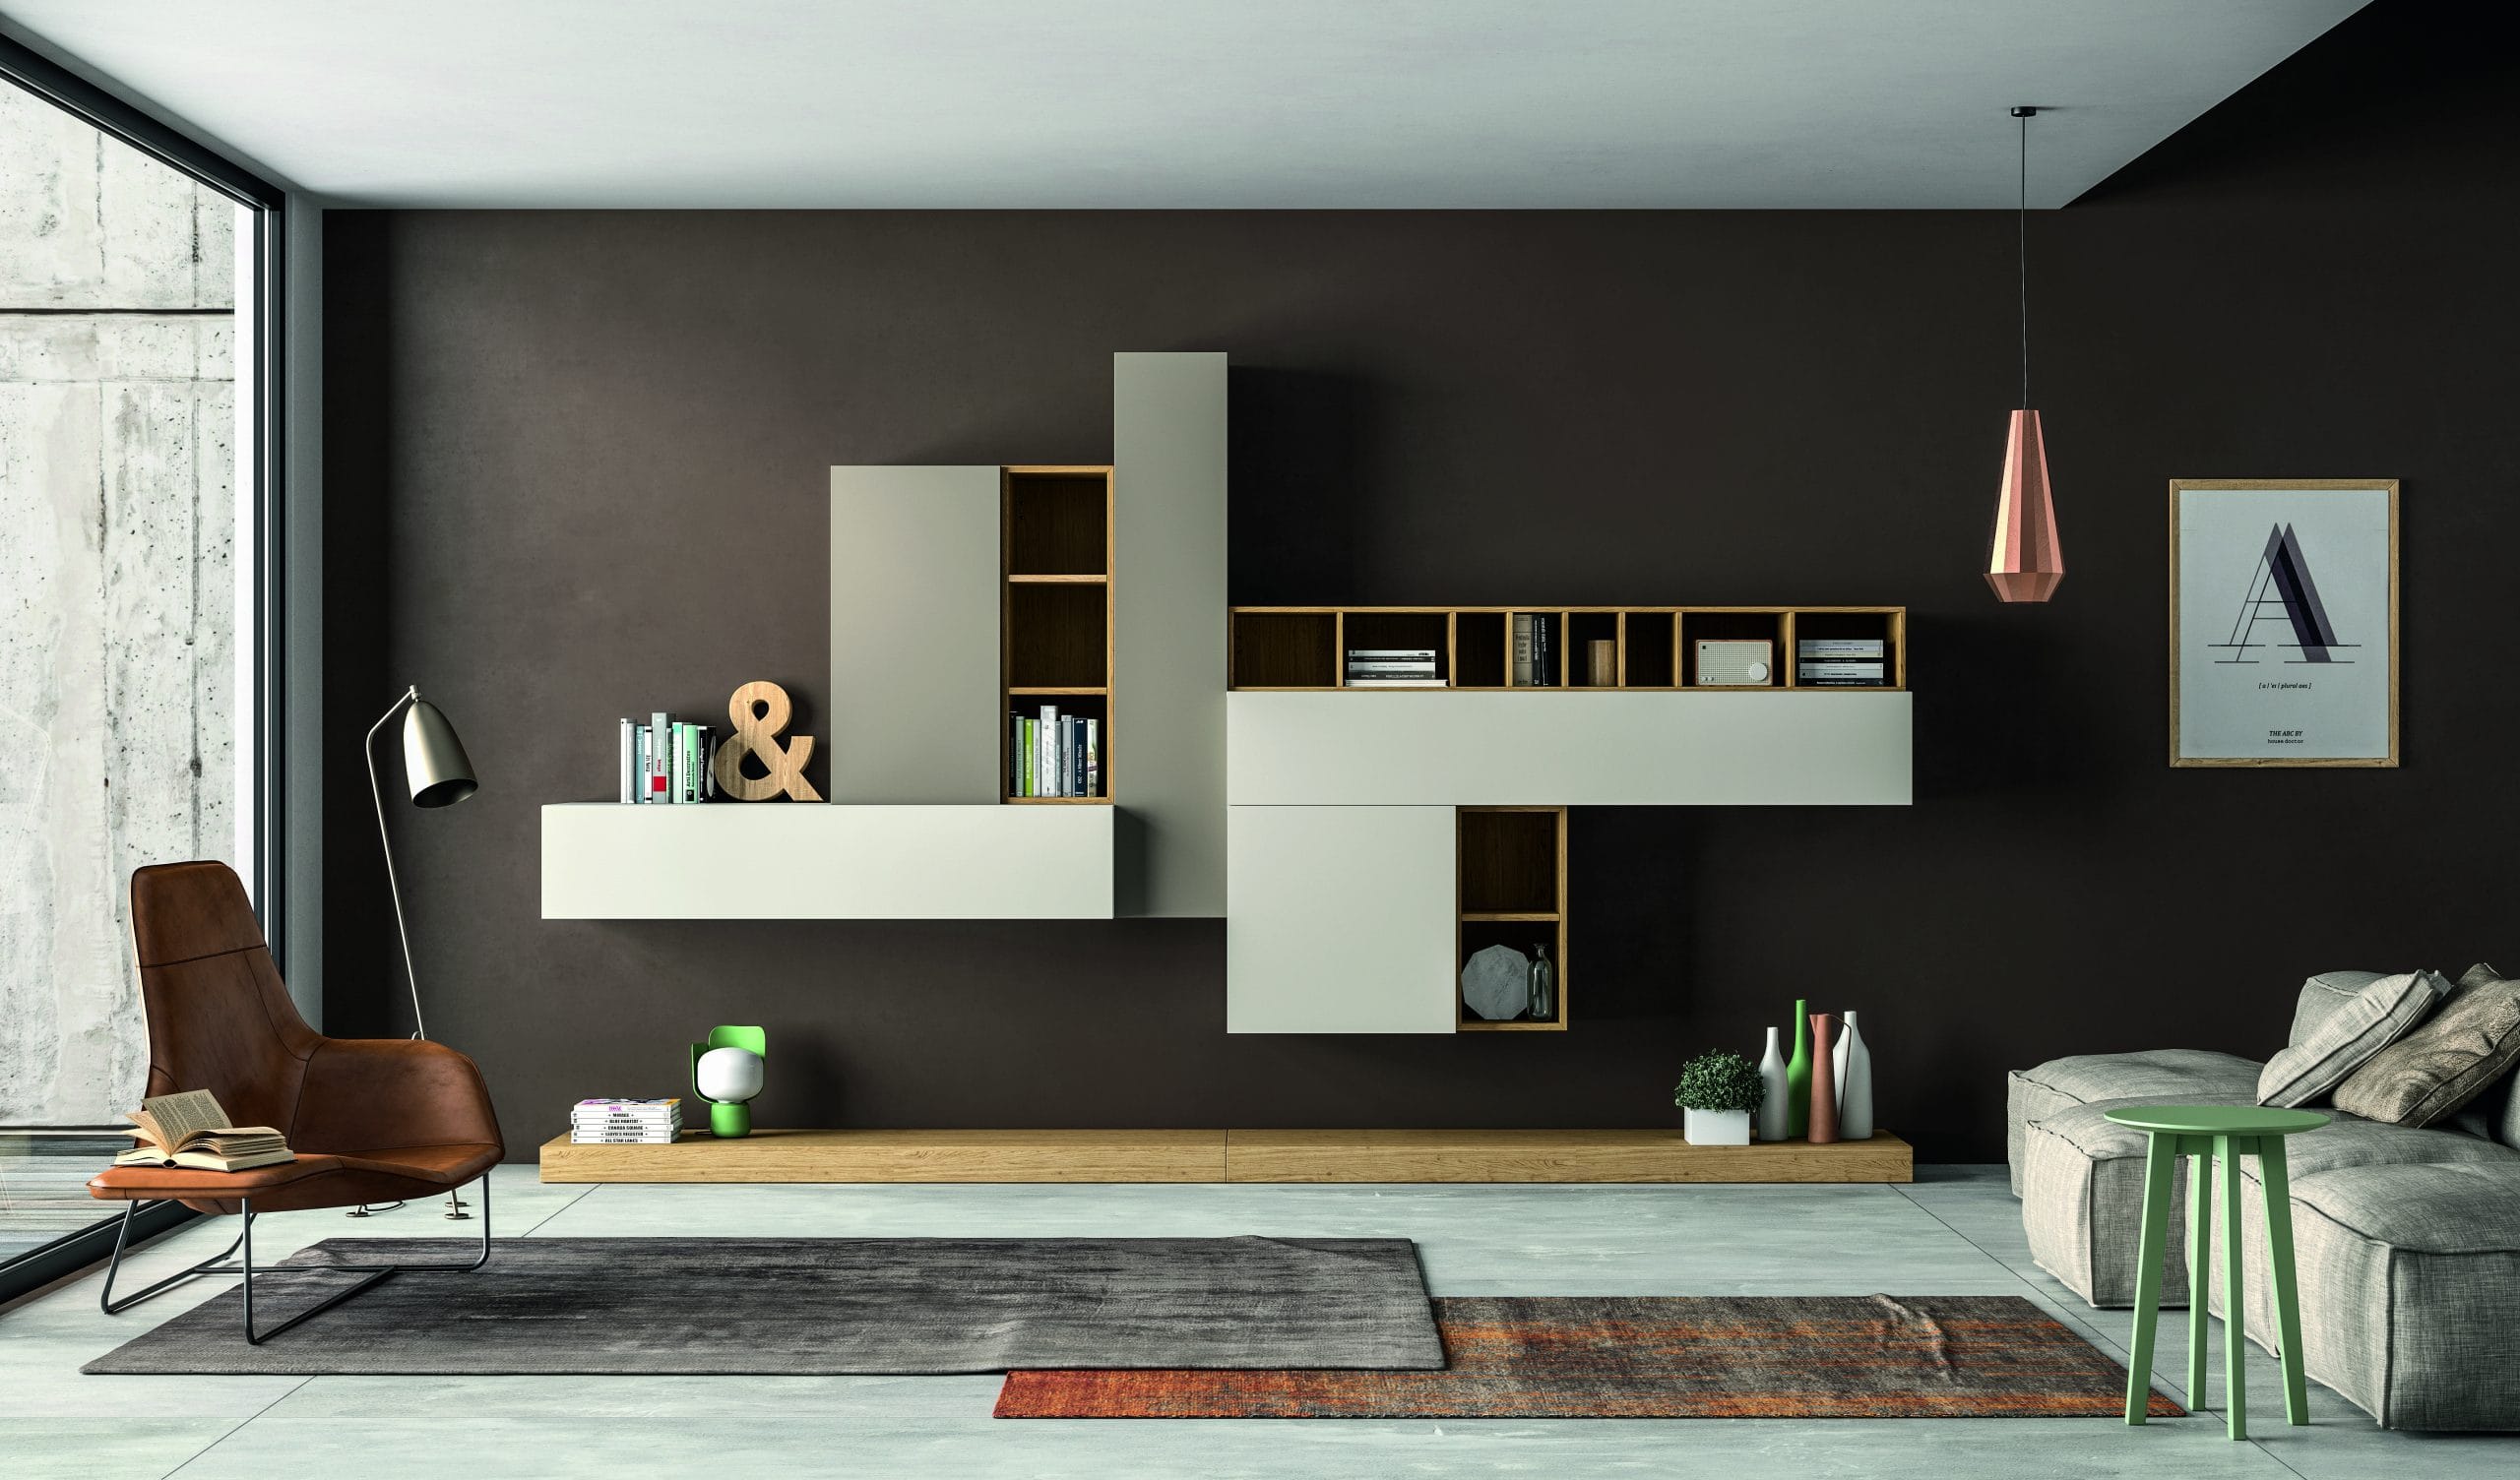
- Floating cabinets: Modern, space-saving, and elegant
- Rustic farmhouse cabinets: Add warmth with natural wood finishes
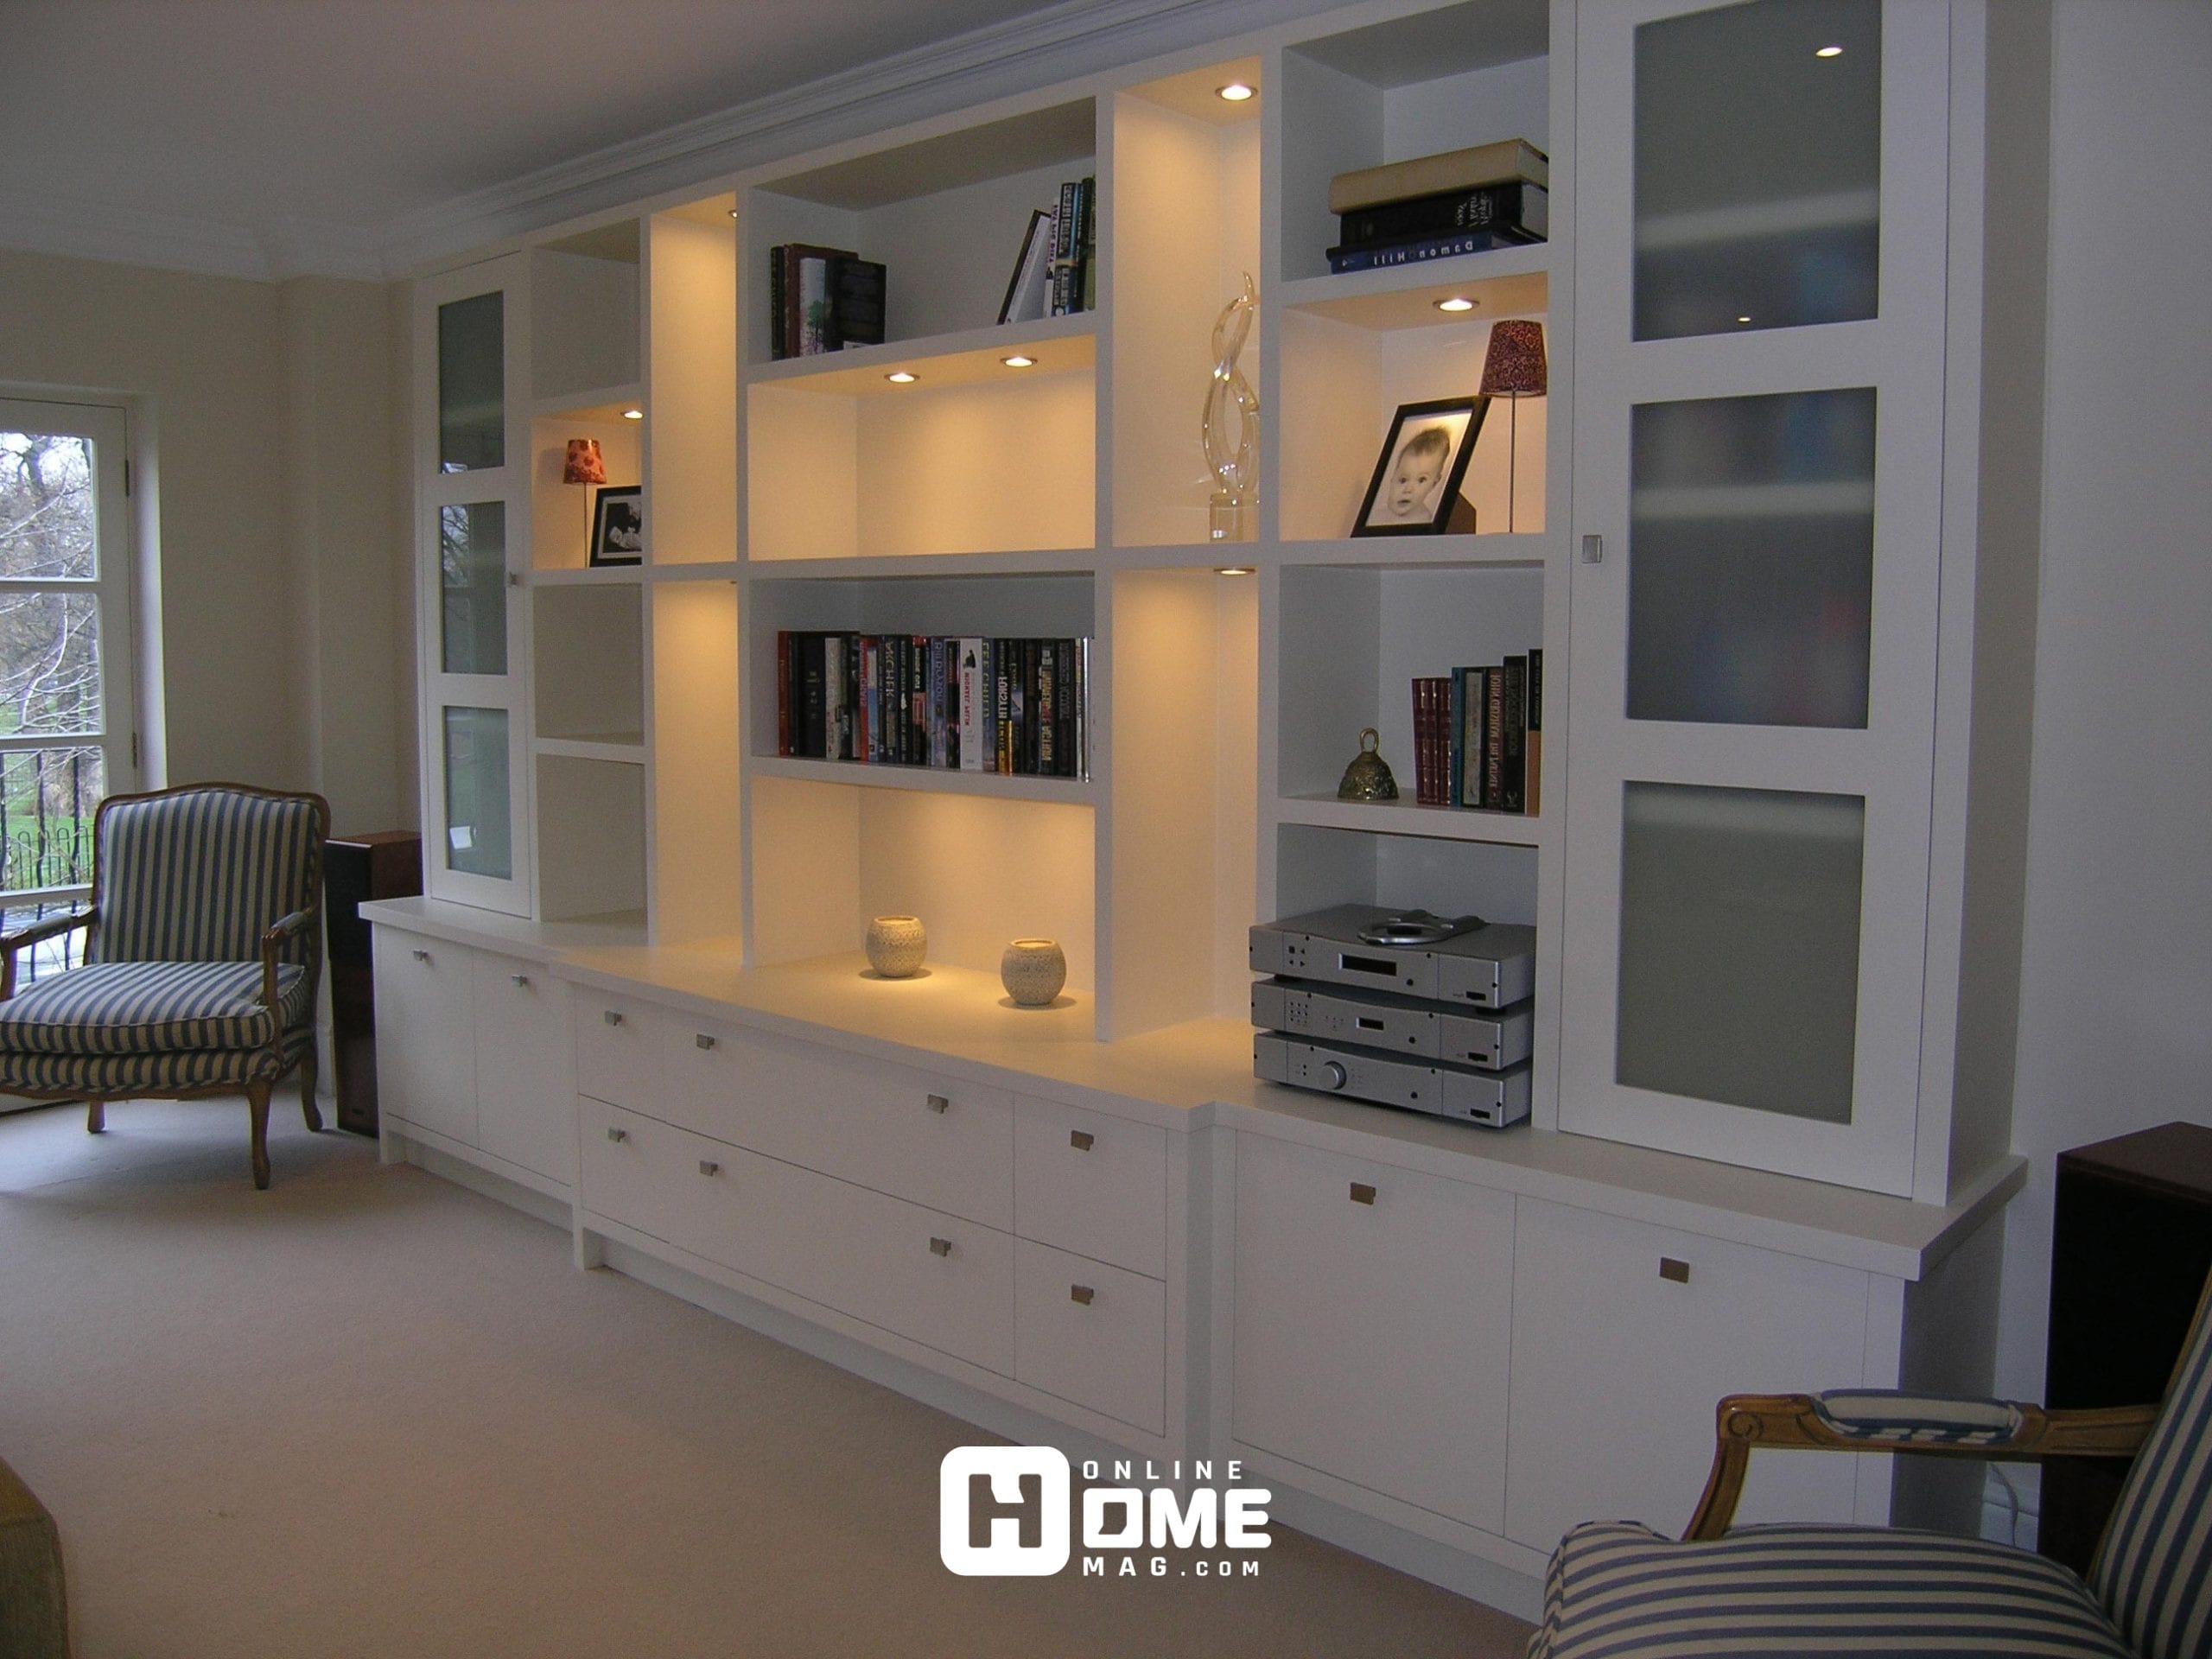
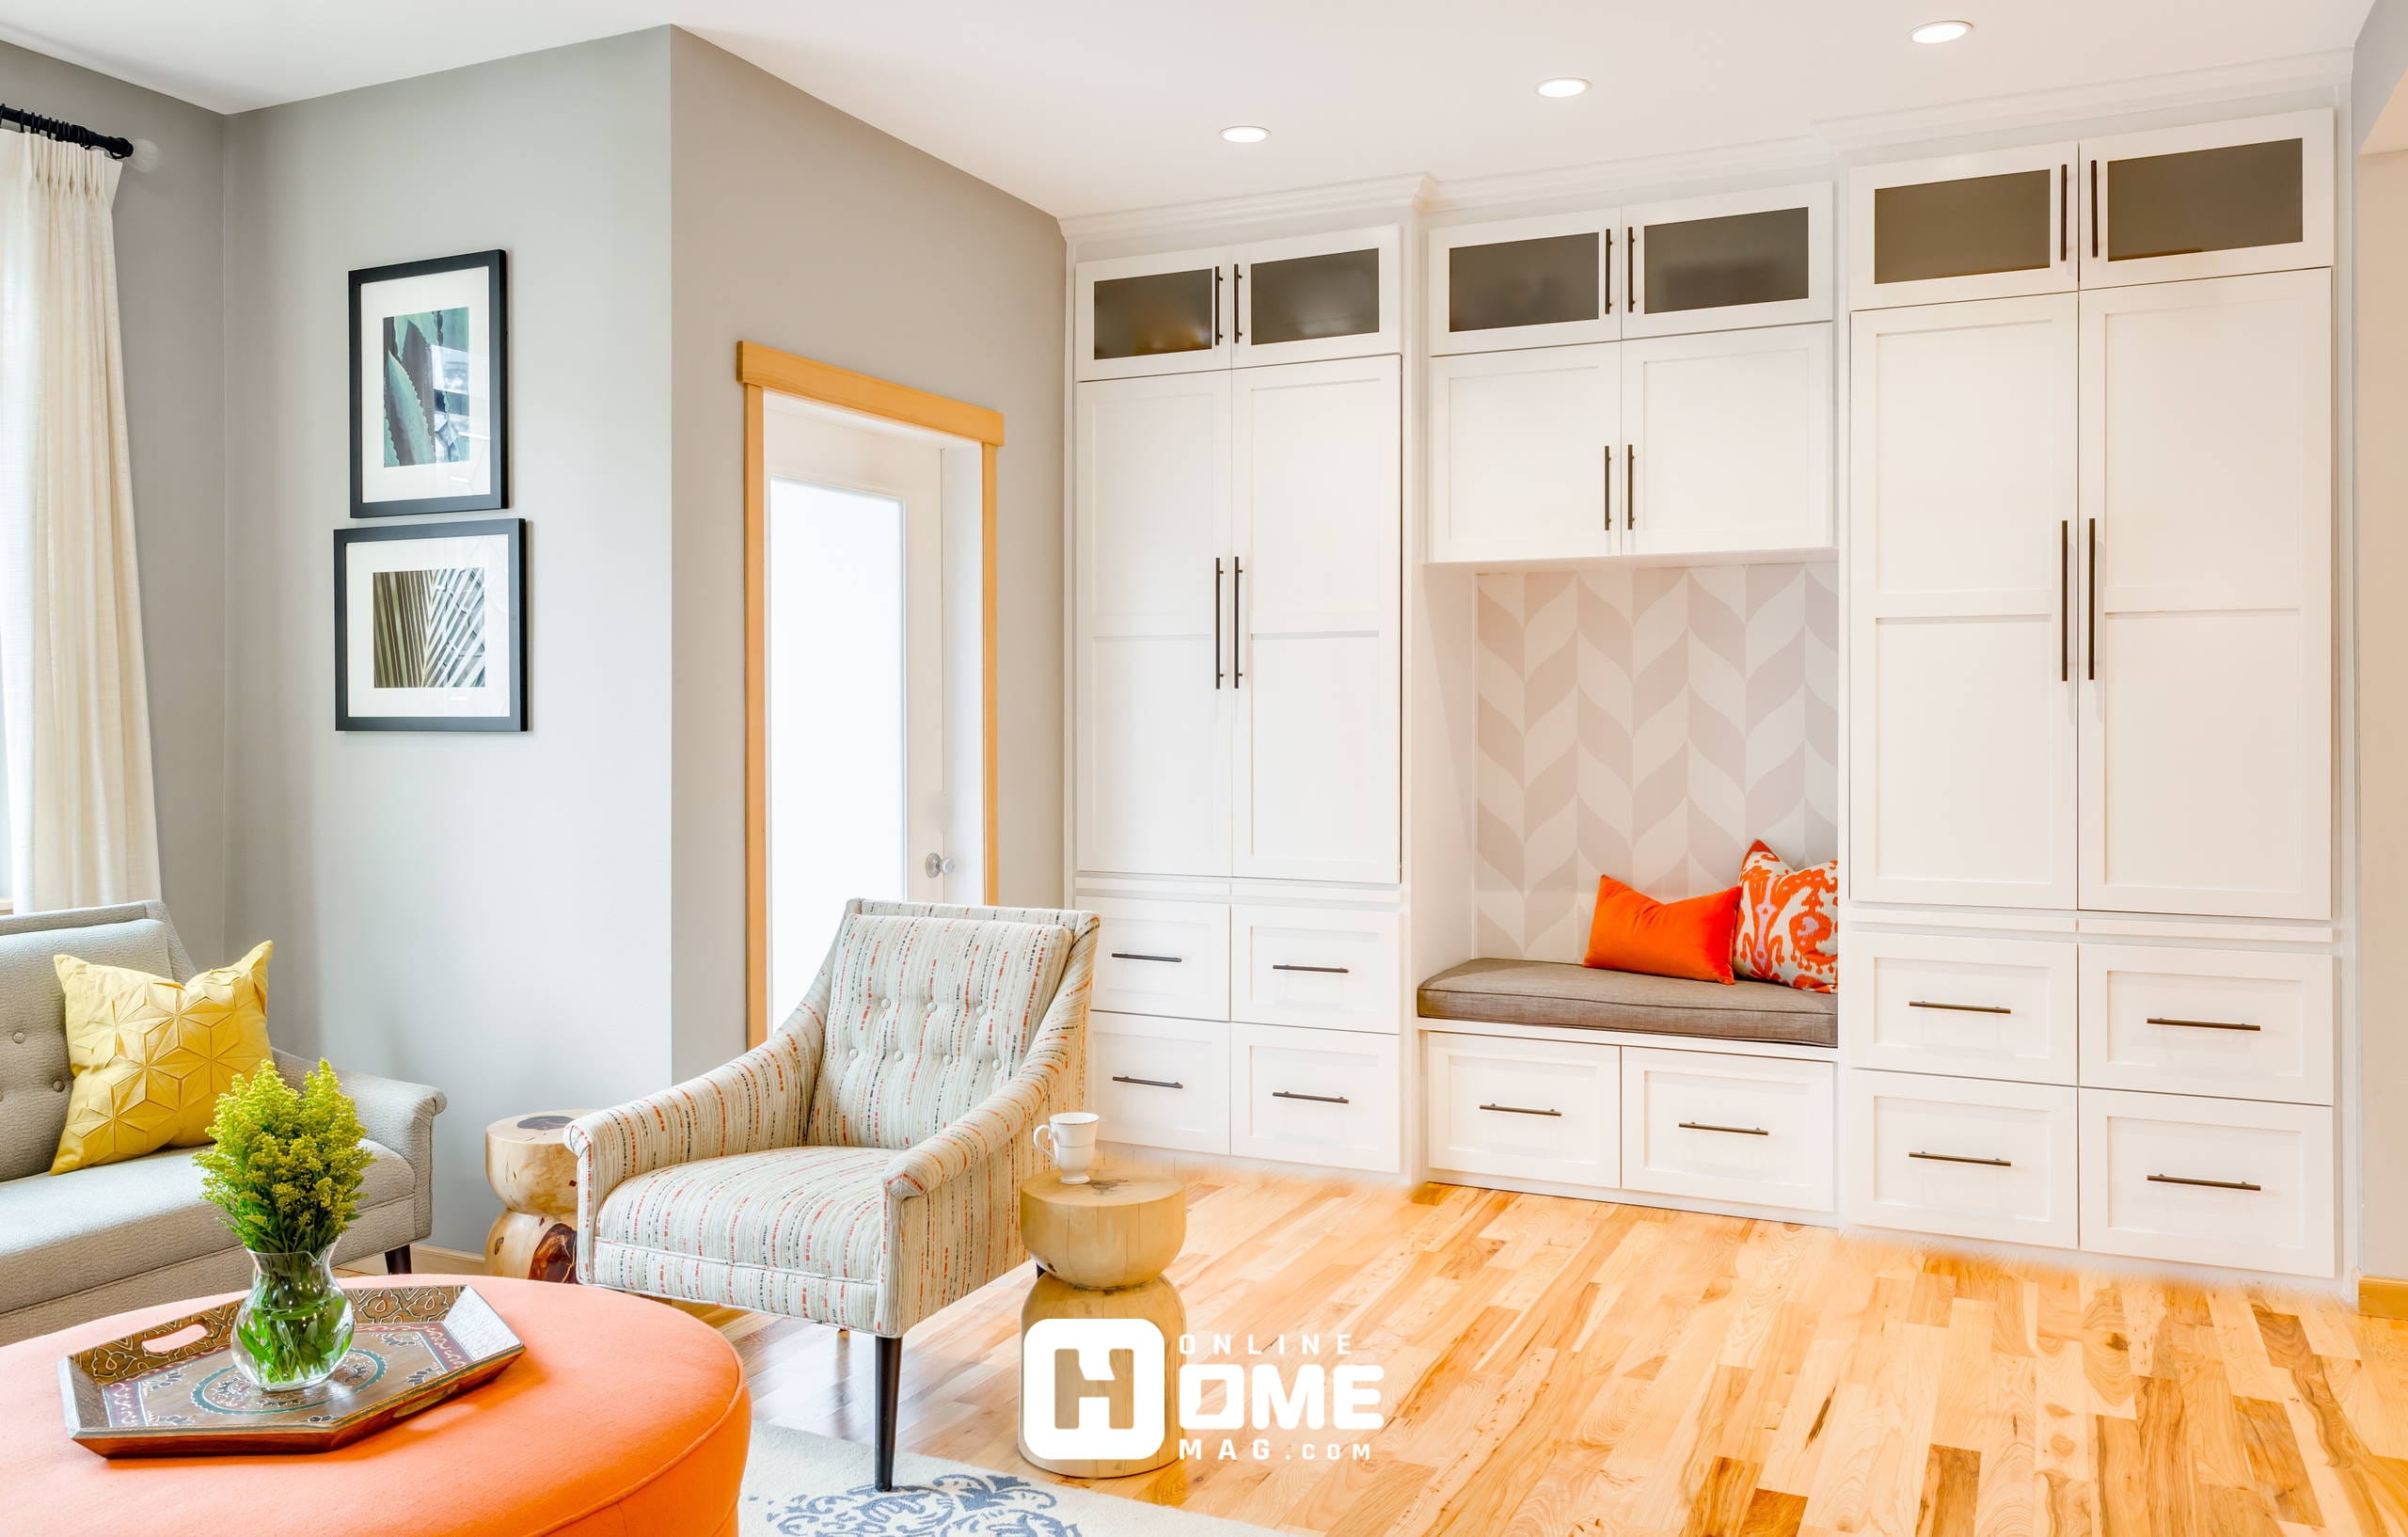
- Built-in units: Frame your TV or fireplace with functional beauty
- Color-pop cabinets: Use bold colors to make your storage stand out
- Glass-front cabinets: Great for displaying books or décor
Maintenance Tips Storage Cabinets for Living Room
To keep your storage cabinets for living room looking new:
- Wipe surfaces weekly with a soft, damp cloth
- Avoid harsh chemical cleaners
- Tighten loose screws or handles occasionally
- Re-coat paint or varnish every few years if needed