🕓 Last updated: October 27, 2025
How to Begin Design Patio Layout
Designing the layout of patio is the first and most critical step in creating an enjoyable outdoor space. A well-planned layout ensures that your patio is functional and visually appealing. Here’s how you can begin:
Step 1: Assess Your Available Space:
Measure the size of your outdoor area and note any permanent features like walls, trees, fences, or structures that could impact the design. Consider how much open space you have for seating, pathways, and other elements.
Step 2: Define Your Patio’s Purpose:
Before deciding on the layout, think about how you plan to use the space. Is it for dining, entertaining, lounging, or a mix of all these activities? Identifying the purpose of the space will help you design it more effectively.
Step 3: Choose the Right Shape:
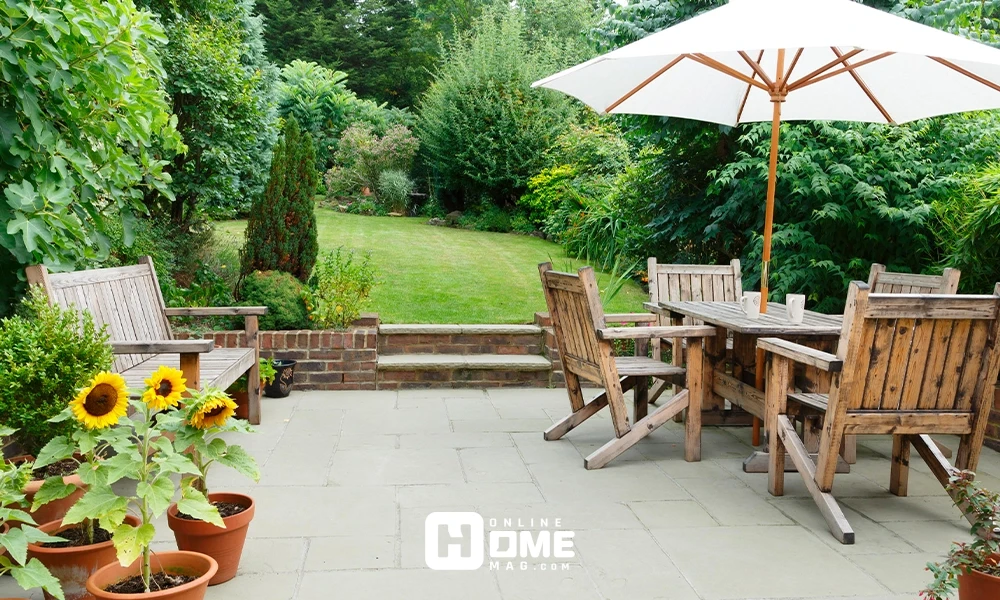
Your patio can have a variety of shapes—square, rectangular, circular, or even asymmetrical. The shape should complement the architecture of your home and the surrounding landscape. If you have a small patio, a rectangular layout might work better, while larger patios can afford more flexibility in design.
Step 4: Create Zones:
Divide the space into functional zones. For example, you could have a dining area, a lounge area with comfortable chairs, and a space for a garden or bar cart. Creating zones adds structure to the space and helps ensure each area is optimized for its function.
Step 5: Consider Flow:
When designing the layout, ensure there’s a natural flow between the various zones. Pathways should allow for easy movement, and the transition between different areas should feel smooth. Avoid overcrowding the space with too many elements that can hinder movement.
Determining the Function and Atmosphere of Your Outdoor Space The function and atmosphere of your patio will largely dictate how it is organized and decorated. It’s important to decide what type of experience you want to create. Here are some considerations:
Function:
- Dining Space: If you plan to use your patio for meals, invest in a sturdy dining table and chairs. Think about how many people you’ll typically entertain and whether you need extra seating for larger gatherings.
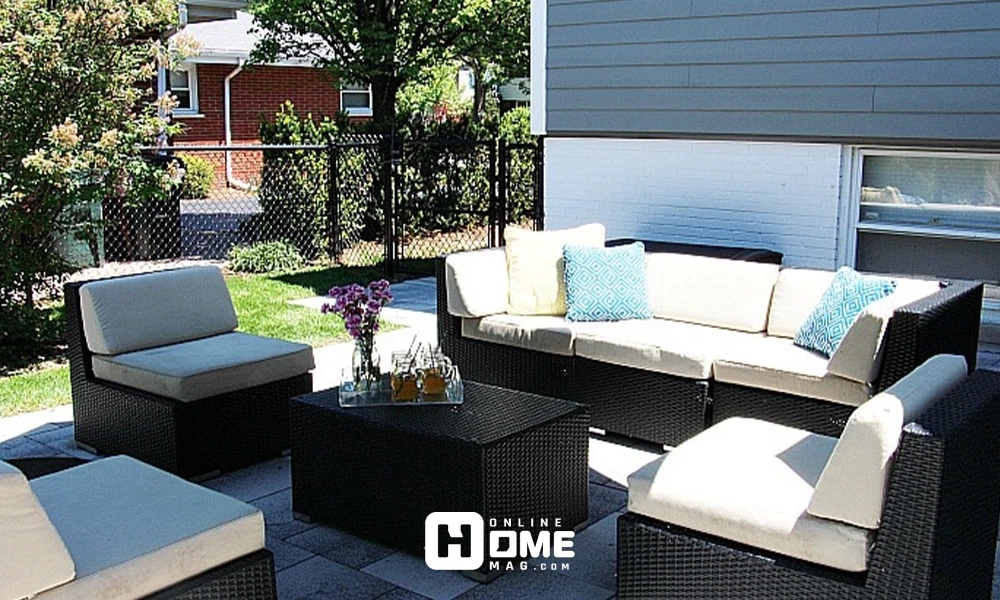
- Lounge Area: A lounge area is ideal for relaxing and unwinding. Comfortable seating like sofas, armchairs, and ottomans are essential. Consider adding cushions and throws to make the space inviting.
- Entertainment Zone: If you love hosting parties or watching movies outdoors, include elements like a fire pit, outdoor projector, or a sound system.
Atmosphere:
- Casual: Opt for relaxed, comfy furniture with bright cushions, colorful accessories, and casual elements like a hammock or bean bags. The atmosphere should be laid-back and easygoing.
- Elegant: For a more sophisticated atmosphere, choose sleek furniture, minimalistic designs, and soft lighting. Add decorative touches like lanterns, candles, or a glass table.
- Cozy and Intimate: If you prefer a cozy vibe, go for warm tones in your furniture, use soft textiles, and add intimate lighting like fairy lights or string lights.
Optimal Clearance for Smooth Foot Traffic on Your Patio:
Adequate clearance is crucial for maintaining smooth foot traffic and ensuring that your patio is both comfortable and functional. When you organize patio, make sure there is enough room for people to move around freely without feeling cramped.
Key Clearance Guidelines:
- Seating Arrangement: There should be at least 24 to 30 inches of clearance around the seating areas for easy movement. This ensures that guests can sit down and stand up comfortably without bumping into other furniture.
- Walkways: Leave at least 36 inches of clearance for walkways. This width allows for two people to pass each other without obstruction, making the space feel more spacious and accessible.
- Dining Table: Allow at least 42 to 48 inches between the edge of the dining table and surrounding furniture to allow for comfortable seating and movement.
Strategic Placement of Large Furniture and Key Elements
Placing large furniture pieces and key elements strategically will help define your patio’s flow and functionality. Here are some tips for placing these items effectively:
Furniture:
- Dining Table: Place the dining table in a central location if dining is a primary function of your patio. It should have easy access to the kitchen or outdoor cooking area but not obstruct movement around the space.
- Sofa/Seating Area: Arrange your seating area around a focal point, such as a fire pit, outdoor TV, or a view of the garden. This ensures the area feels cohesive and inviting.
- Shade Structures: If you have a pergola, gazebo, or umbrella, position it where it will provide maximum shade over seating and dining areas without blocking the view or other key elements.
Key Elements:
- Fire Pit/Fireplace: Fire pits should be placed away from flammable materials and at least 10 feet from seating areas to ensure safety. Consider a central location for a fire pit to serve as a focal point.
- Planters and Greenery: Incorporate greenery around your patio with plants and flowers. Position planters at the edges or corners of your patio to add color without obstructing the flow of movement.
Designing the Perfect Outdoor Cooking and Grilling Area:
A dedicated cooking and grilling area can enhance the functionality of your patio. This area should be well-planned for convenience, safety, and comfort.
Step 1: Choose a Location:
Place your grill or outdoor kitchen in a location that is accessible but doesn’t interfere with the flow of the rest of the patio. Consider placing it near the edge of the patio to avoid smoke drifting over seating or dining areas.
Step 2: Build in Features:
Consider adding features like a countertop for food prep, a sink, or a built-in bar for drinks. Storage for grilling tools and accessories is also essential to keep the area organized.
Step 3: Consider Ventilation:
Ensure there is good ventilation, especially if you’re cooking over an open flame. Avoid placing the grill under covered areas or too close to walls, as this can lead to poor air circulation.
Step 4: Safety:
Make sure the grilling area is far from flammable materials like cushions, curtains, or wooden furniture. A fire extinguisher should be easily accessible as well.
Effective Planning for a Spacious Patio Design
To create the illusion of a spacious patio, focus on design elements that maximize space while keeping the area open and airy.
Key Tips for a Spacious Design
- Open Layout: Avoid overcrowding the space with too much furniture. Instead, opt for a minimalist approach, where each piece of furniture serves a clear purpose.
- Use Vertical Space: Incorporate vertical elements like hanging planters or vertical gardens to add greenery without taking up floor space.
- Light Colors: Light-colored furniture, flooring, and walls can make your patio feel more open and airy. Whites, neutrals, and pastels create a sense of openness.
- Clear Pathways: Design clear, uninterrupted pathways for easy movement around the space. Avoid cluttering the space with too many decorative items.
Essential Accessories and Storage Ideas to Complete Your Patio
Accessories and smart storage solutions are the finishing touches that can elevate your patio and make it more practical.
Essential Accessories
- Outdoor Rugs: Add comfort and style with weather-resistant outdoor rugs. They help define seating areas and add a pop of color.
- Lighting: Use string lights, lanterns, or garden lights to create a warm, inviting ambiance at night. Solar-powered lights are an eco-friendly option.
- Throw Pillows and Cushions: Add comfort and personality to your seating area with vibrant throw pillows. These can easily be swapped out to match the seasons or mood.
- Shade Solutions: Include umbrellas, pergolas, or canopies to protect from the sun and make your patio usable in various weather conditions.
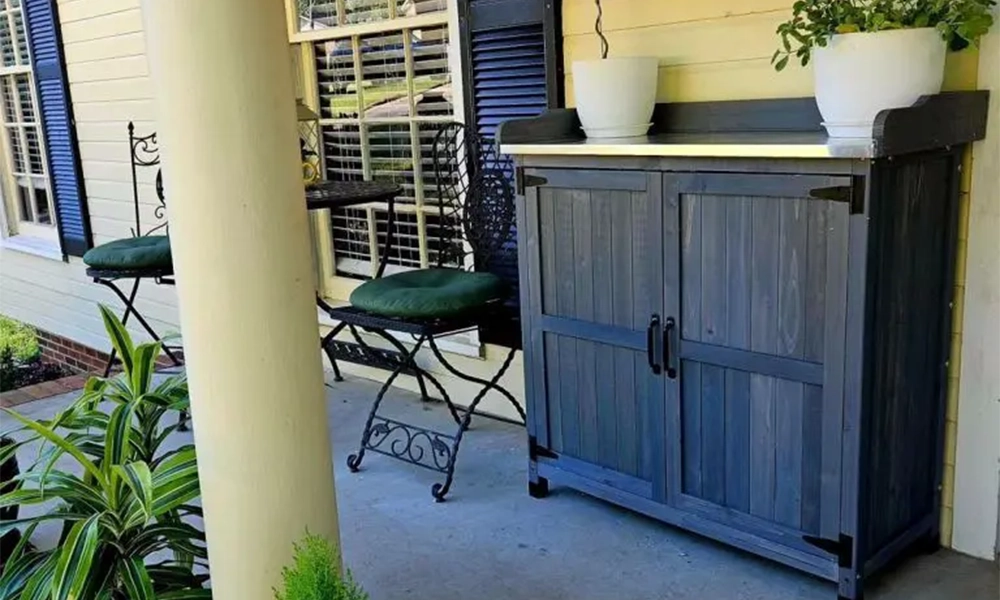
Storage Ideas
- Storage Benches: Benches with hidden storage are perfect for storing cushions, throws, or gardening tools. They offer both seating and a place to keep things out of sight.
- Deck Boxes: Large deck boxes are great for storing outdoor cushions, grilling accessories, or gardening supplies. They come in various sizes to suit your needs.
- Wall Hooks and Shelving: Install hooks on walls or fences for storing outdoor tools, bags, or towels. Shelves can hold small planters or decor items.
Conclusion
Organizing patio and designing your outdoor space is an exciting project that can transform it into an inviting retreat. By considering functionality, layout, clearance, and key elements like furniture and storage, you can create a space that suits your needs and enhances the aesthetics of your home. Whether you envision a cozy lounge, an outdoor kitchen, or an entertainment hub, the key is in thoughtful planning and careful attention to detail. With the right approach, knowing how to organize patio can help you create a seamless extension of your home, offering the perfect spot for relaxation, socializing, and enjoying the great outdoors.