🕓 Last updated: August 3, 2025
Why You Should Paint Kitchen Cabinets
Deciding to paint kitchen cabinets is one of the smartest upgrades you can make without breaking the bank. Here’s why homeowners and designers love this affordable transformation:
- Paint kitchen cabinets to save money – Instead of spending thousands on new cabinetry, a few cans of paint can refresh your space for a fraction of the cost.
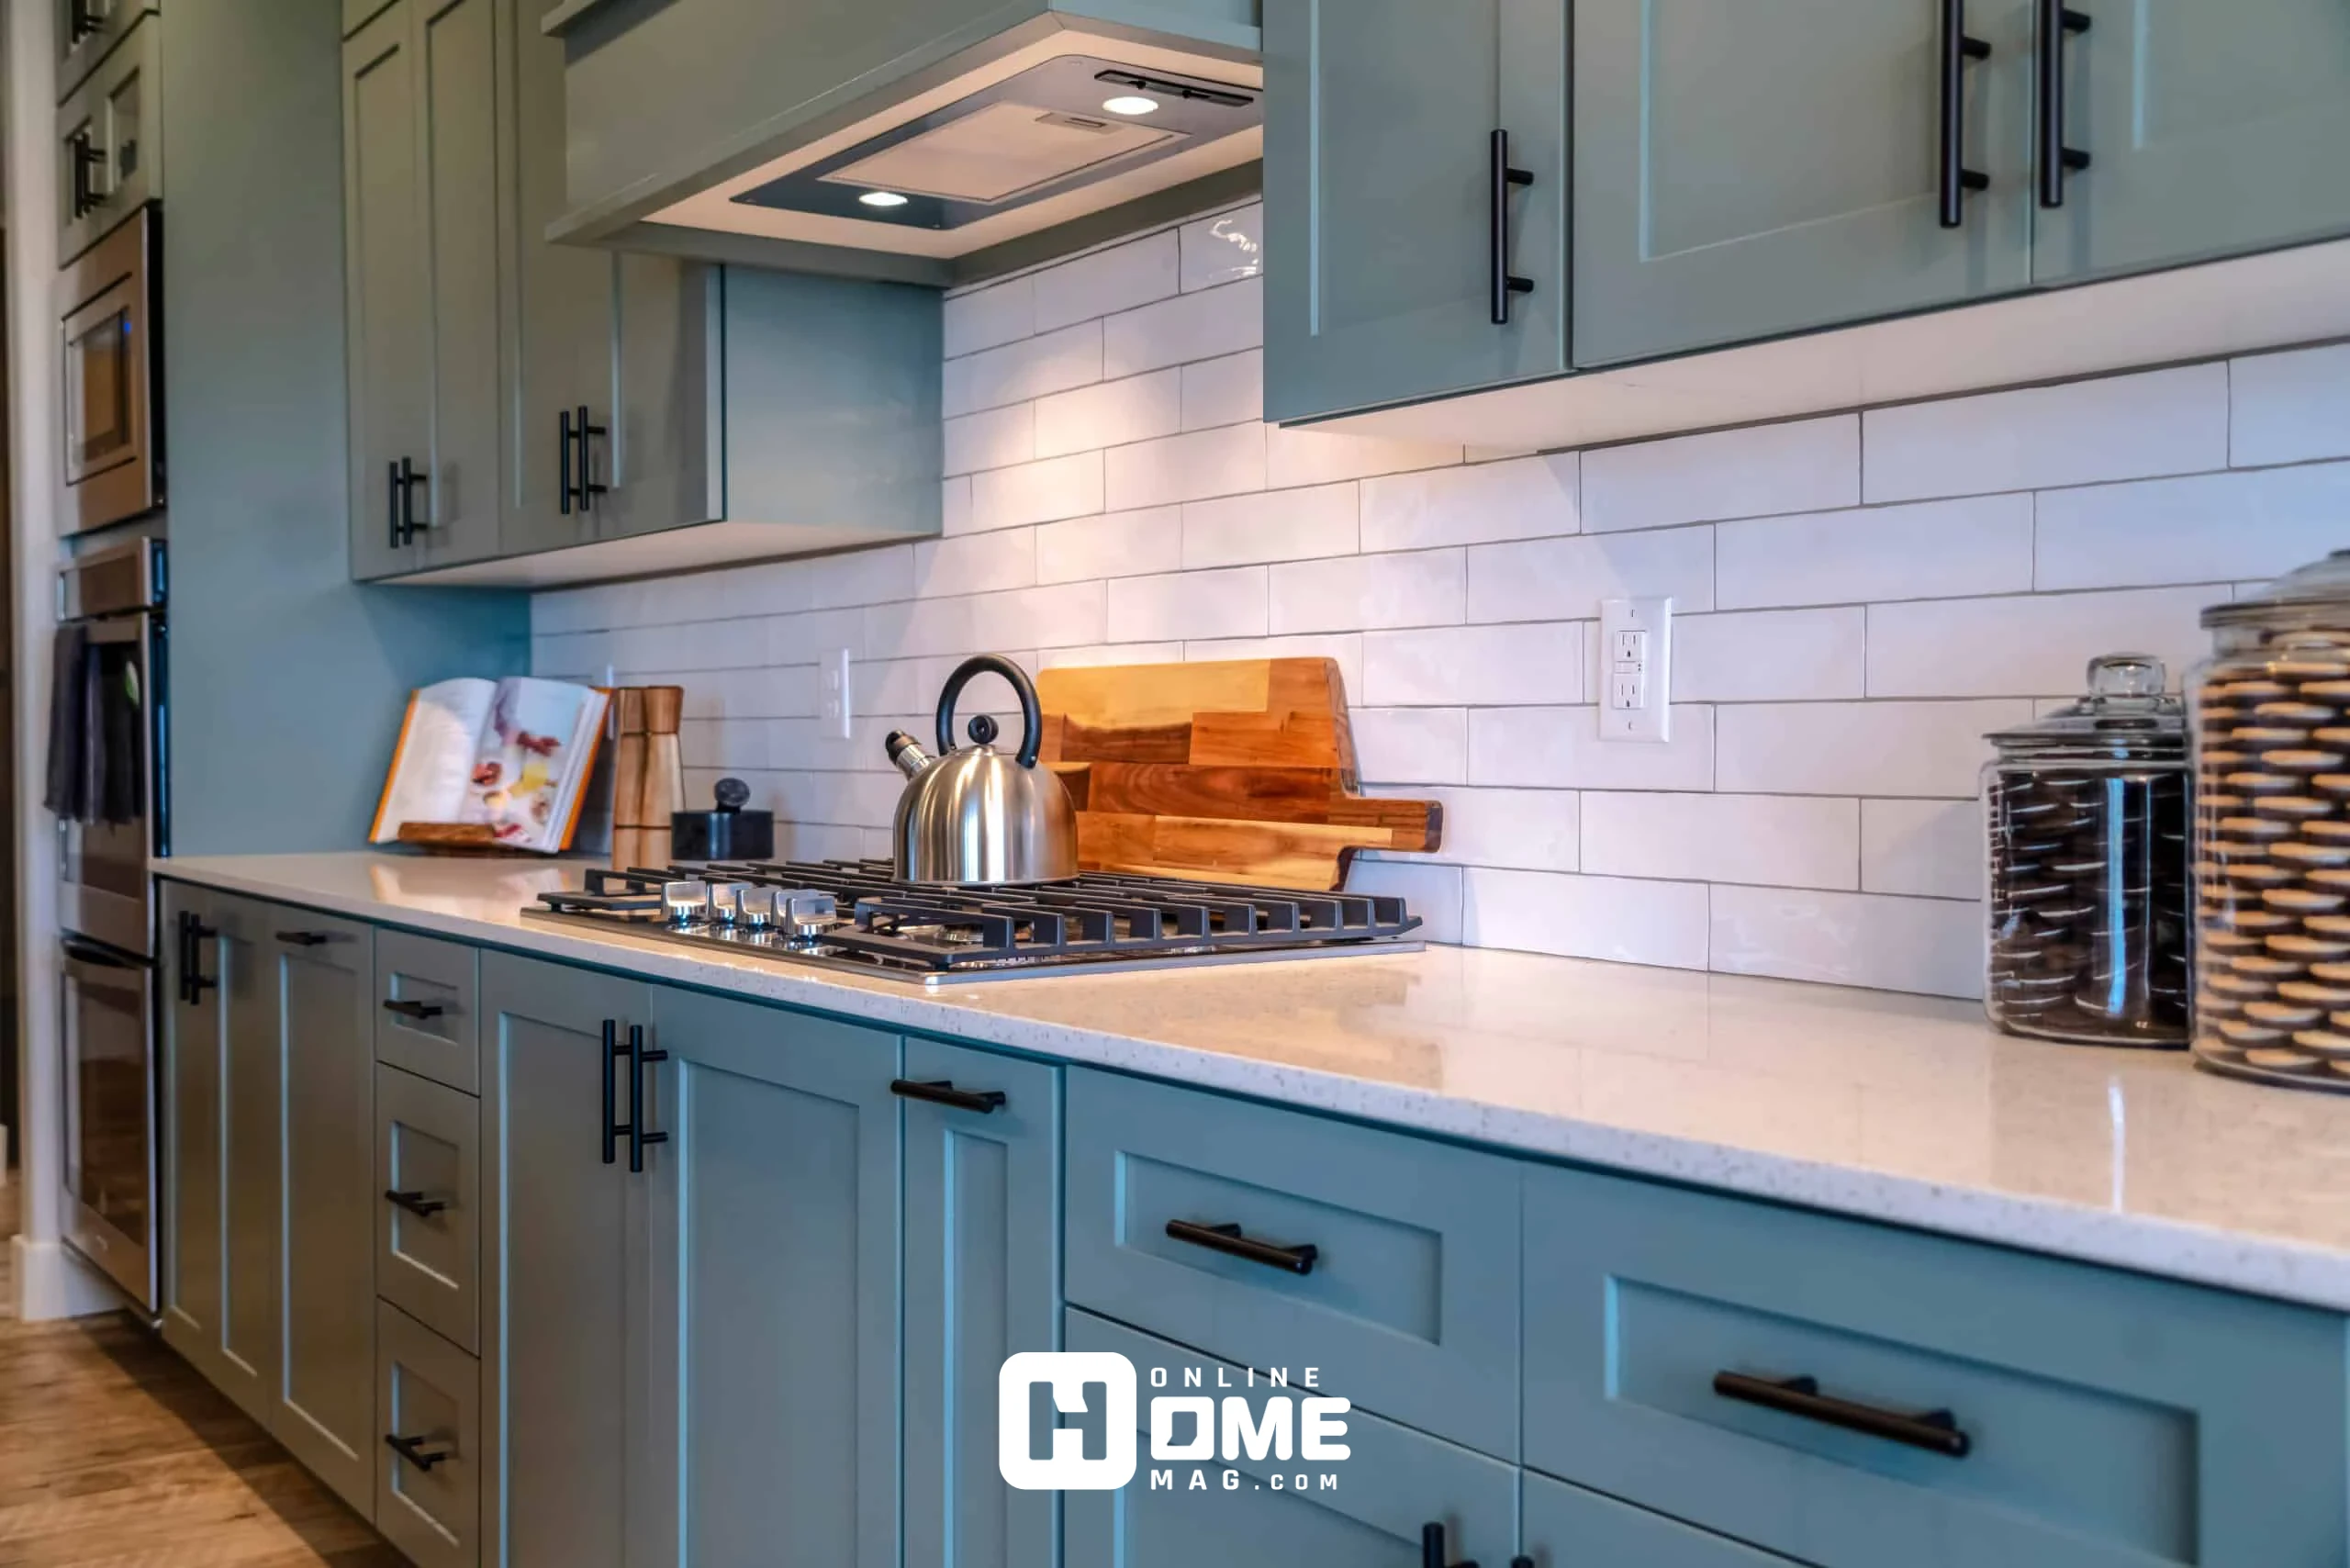
- Instant visual impact – A fresh coat of paint completely updates the look of your kitchen, making it feel modern, clean, and inviting.
- Personalized design – You can paint kitchen cabinets in any shade or finish that matches your style, from matte white to deep navy or forest green.
- DIY-friendly – With a few basic tools and some guidance, anyone can paint kitchen cabinets and achieve professional-looking results.
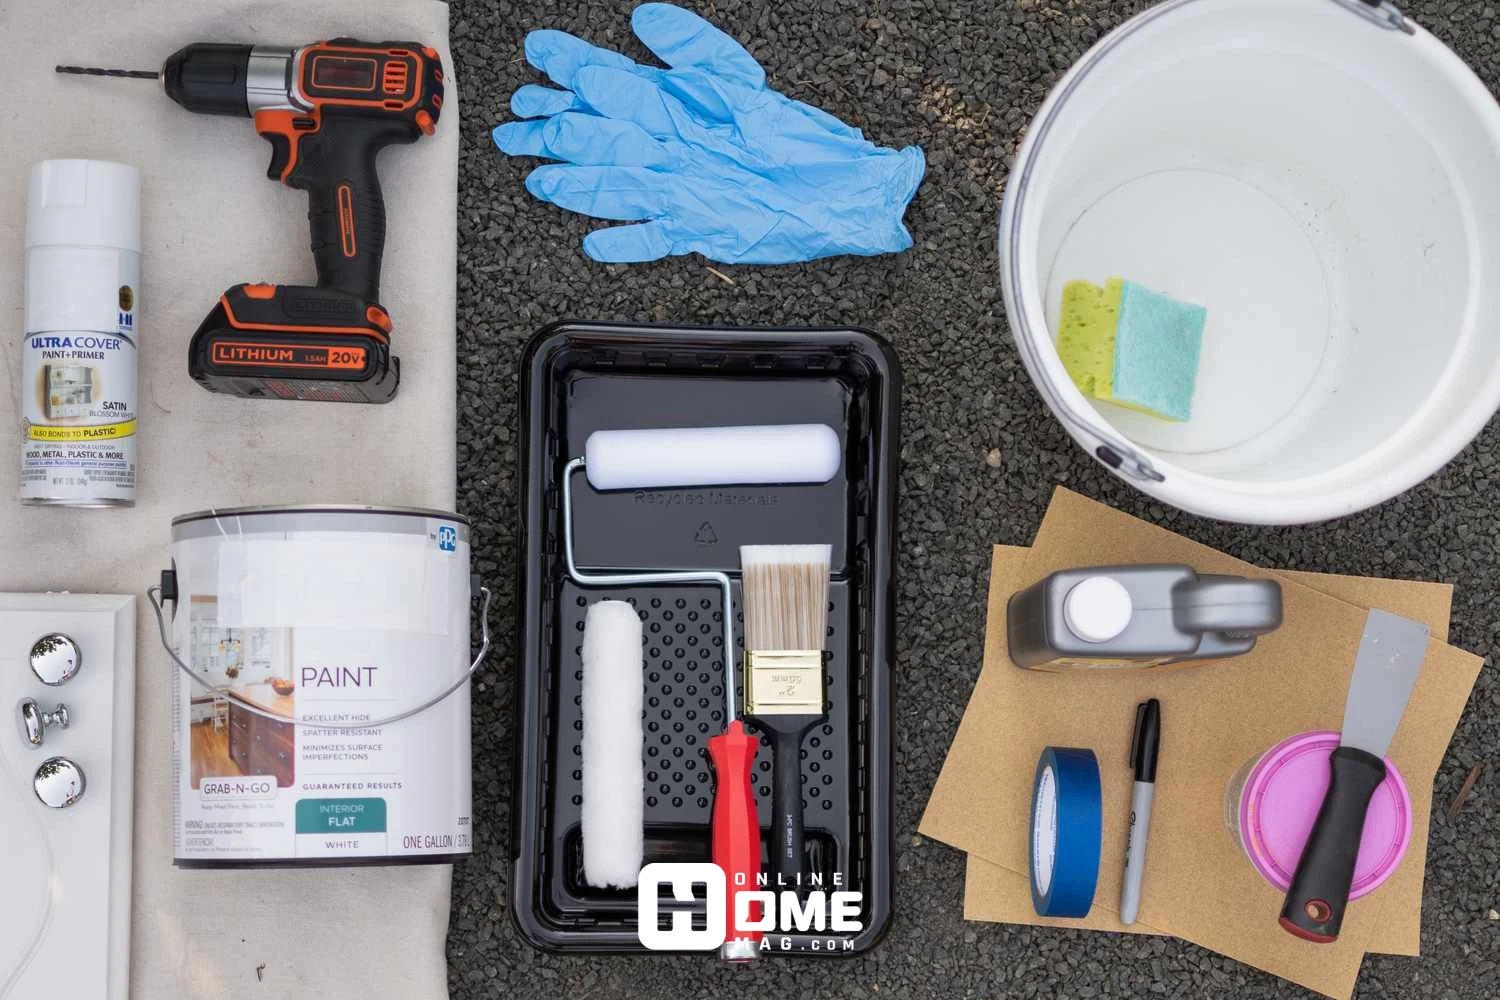
Tools & Materials You’ll Need
To successfully paint kitchen cabinets, gather these essential tools:
Cleaning & Prep Supplies:
- Degreaser or TSP substitute
- Scrub pads
- Painter’s tape
- Drop cloths
- Screwdriver or drill
- Sandpaper (120–220 grit)
- Vacuum and tack cloth
Painting Supplies:
- High-quality primer
- Cabinet paint (latex or oil-based)
- Foam roller or brush
- Paint sprayer (optional)
- Paint trays
- Putty knife and wood filler (if needed)
Step 1: Empty & Label Everything
Remove all contents from your cabinets. Then, label each door and drawer as you remove it so you know where everything goes when reassembling.
Pro Tip: Use masking tape and a marker to number each piece and its corresponding spot.
Step 2: Clean and Degrease
Kitchens are greasy. Before you paint kitchen cabinets, use a degreaser to thoroughly clean all surfaces. Pay close attention to the cabinet doors, especially around the handles and edges.
- Rinse with clean water.
- Let everything dry completely.
Step 3: Remove Doors, Drawers, and Hardware
Using a screwdriver or drill, carefully remove:
- Cabinet doors
- Drawer fronts
- Handles and hinges
Place all screws and hardware in a labeled bag for easy reassembly later.
Step 4: Fill Holes and Repair Damage
If you’re changing hardware or have nicks in the wood, use wood filler to repair and smooth imperfections. Allow to dry, then sand the filled areas with fine-grit sandpaper.
Step 5: Sanding Is Essential
To help the new paint adhere properly, you’ll need to sand your cabinets lightly—even if they’re already painted.
- Use 120- to 150-grit sandpaper for most surfaces.
- Wipe off dust with a tack cloth or vacuum hose with brush attachment.
Step 6: Protect Surrounding Surfaces
Use painter’s tape to mask off walls, floors, and any areas you don’t want painted. Lay down drop cloths to protect countertops and flooring.
Step 7: Prime for Perfection
Priming ensures paint sticks better and lasts longer. Choose a primer suited for cabinets—especially if they’re dark, stained, or laminate.
- Apply primer with a brush and foam roller or sprayer.
- Allow to dry fully, then lightly sand the surface with fine-grit paper.
Step 8: Time to Paint Kitchen Cabinets
Now that you’re prepped, it’s time to paint kitchen cabinets!
Best Paint for Cabinets:
- Acrylic latex: Easy cleanup, durable.
- Oil-based: Tougher, glossier, but harder to clean and longer to dry.
- Cabinet-specific enamel paints: Self-leveling and long-lasting.
Techniques:
- Use a foam roller for flat areas and angled brush for corners and details.
- Apply two thin coats instead of one thick one.
- Let the first coat dry completely before applying the second.
Optional: Use a sprayer for ultra-smooth, professional results.
Step 9: Let It Cure Properly
Patience is key. Even if the paint feels dry to the touch, it takes a few days to fully cure. Avoid reinstalling doors or placing items back until it’s fully set.
- Dry time: 2–4 hours between coats
- Cure time: 24–72 hours before use
Step 10: Reattach Hardware and Reassemble
Once everything is cured:
- Reattach handles, knobs, and hinges.
- Mount the doors and drawer fronts.
- Remove painter’s tape and clean up.
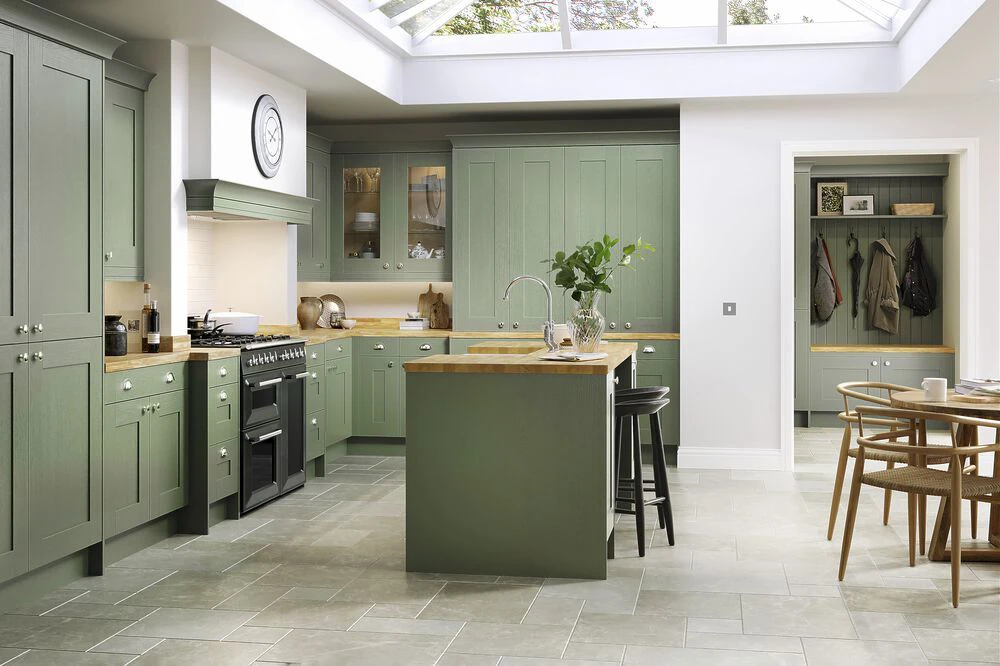
Best Colors to Paint Kitchen Cabinets in 2025
Here are trending color ideas if you’re unsure which hue to choose:
| Color | Mood | Best For |
| Soft White | Bright, timeless | Any kitchen |
| Sage Green | Calming, modern | Farmhouse, rustic |
| Navy Blue | Bold, elegant | Contemporary spaces |
| Charcoal Gray | Sleek, neutral | Minimalist homes |
| Light Taupe | Warm, versatile | Traditional designs |
Tips for Success
- Don’t rush. Each step matters.
- Avoid painting in humid weather.
- Invest in good-quality paint—it makes a difference.
- Sand lightly between coats for a smooth finish.
- Paint cabinet frames after doors and drawers.
Pros & Cons of Painting Kitchen Cabinets
Pros:
- Inexpensive makeover
- Custom look
- Increases home value
Cons:
- Time-consuming
- Requires proper prep
- Not ideal for damaged cabinets
Maintenance Tips After You Paint Kitchen Cabinets
- Use mild cleaners—avoid harsh chemicals.
- Wipe spills quickly to prevent stains.
- Reapply a thin coat every few years to refresh.