
🕓 Last updated: December 22, 2025
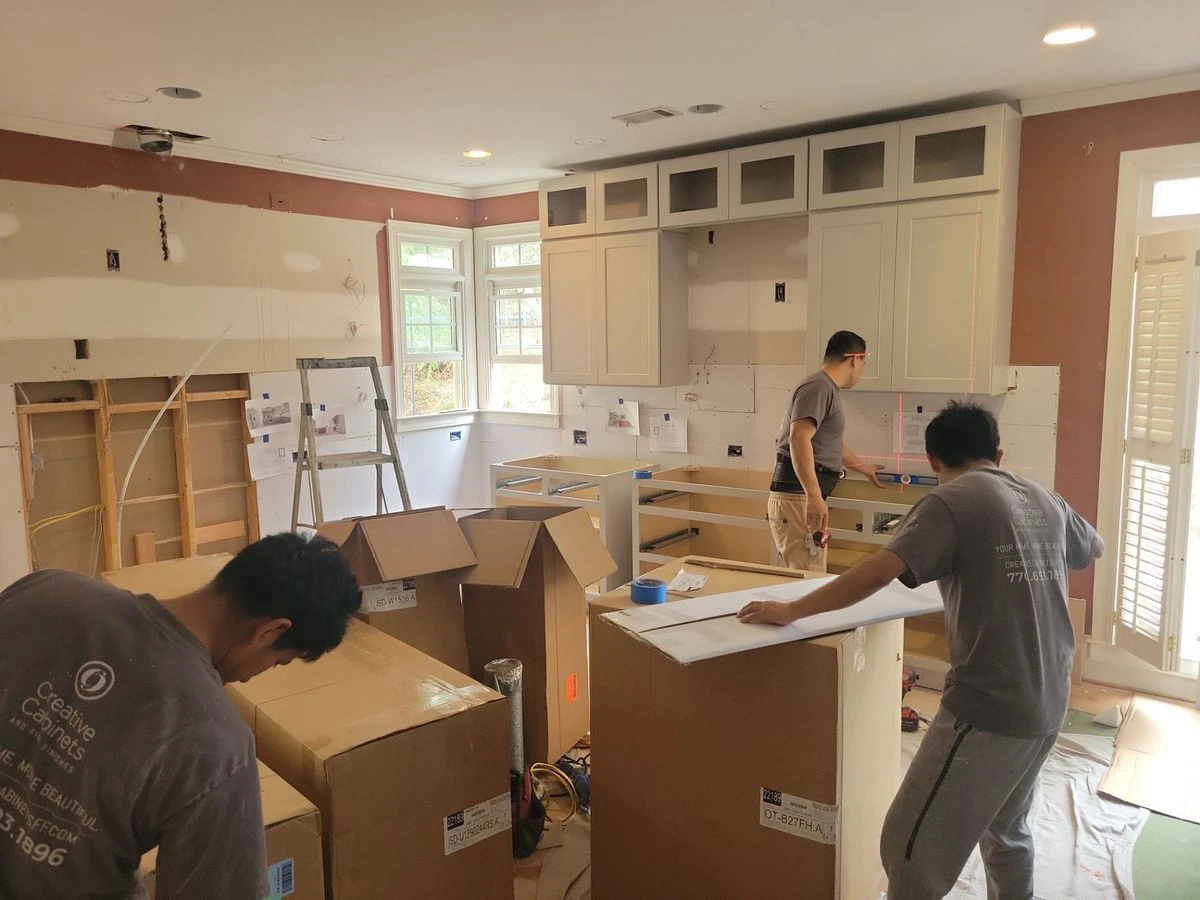
Why Choose DIY Kitchen Cabinet Refinishing?
Before we get into the “how,” let’s understand the “why.” Refinishing kitchen cabinets yourself offers several unique advantages:
- Budget-friendly: Professional refinishing can cost $2,000–$5,000. DIY? Often under $300.
- Custom results: Choose the exact finish, color, and texture you want.
- Minimal disruption: No need to rip out your kitchen or go without cabinets for weeks.
- Skill-building: Great for learning useful home improvement techniques.
If your cabinets are structurally sound but look tired, DIY kitchen cabinet refinishing is the perfect weekend project to refresh your space.
Step 1: Evaluate Your Cabinets
Not all cabinets are good candidates for refinishing. Make sure yours are:
- Made of solid wood or quality wood veneer
- Free of major water damage or mold
- Structurally stable (doors close properly, no loose hinges)
Laminate cabinets can be refinished, but they require special products and might not last as long. Always test a small spot before committing.
Step 2: Gather Supplies and Tools
Here’s what you’ll need for a typical DIY kitchen cabinet refinishing project:
Tools:
- Screwdriver or drill (to remove doors/hardware)
- Sandpaper (medium and fine grit)
- Sanding block or electric sander
- Drop cloths or plastic sheeting
- Painter’s tape
- Paintbrushes (angled and flat)
- Foam roller
- Tack cloth
Materials:
- Degreaser or TSP cleaner
- Wood filler (if repairing damage)
- Primer (bonding primer if cabinets are glossy)
- Paint (latex, oil-based, or enamel)
- Topcoat or polyurethane (optional but recommended)
Optional: Liquid deglosser if you don’t want to sand as much.
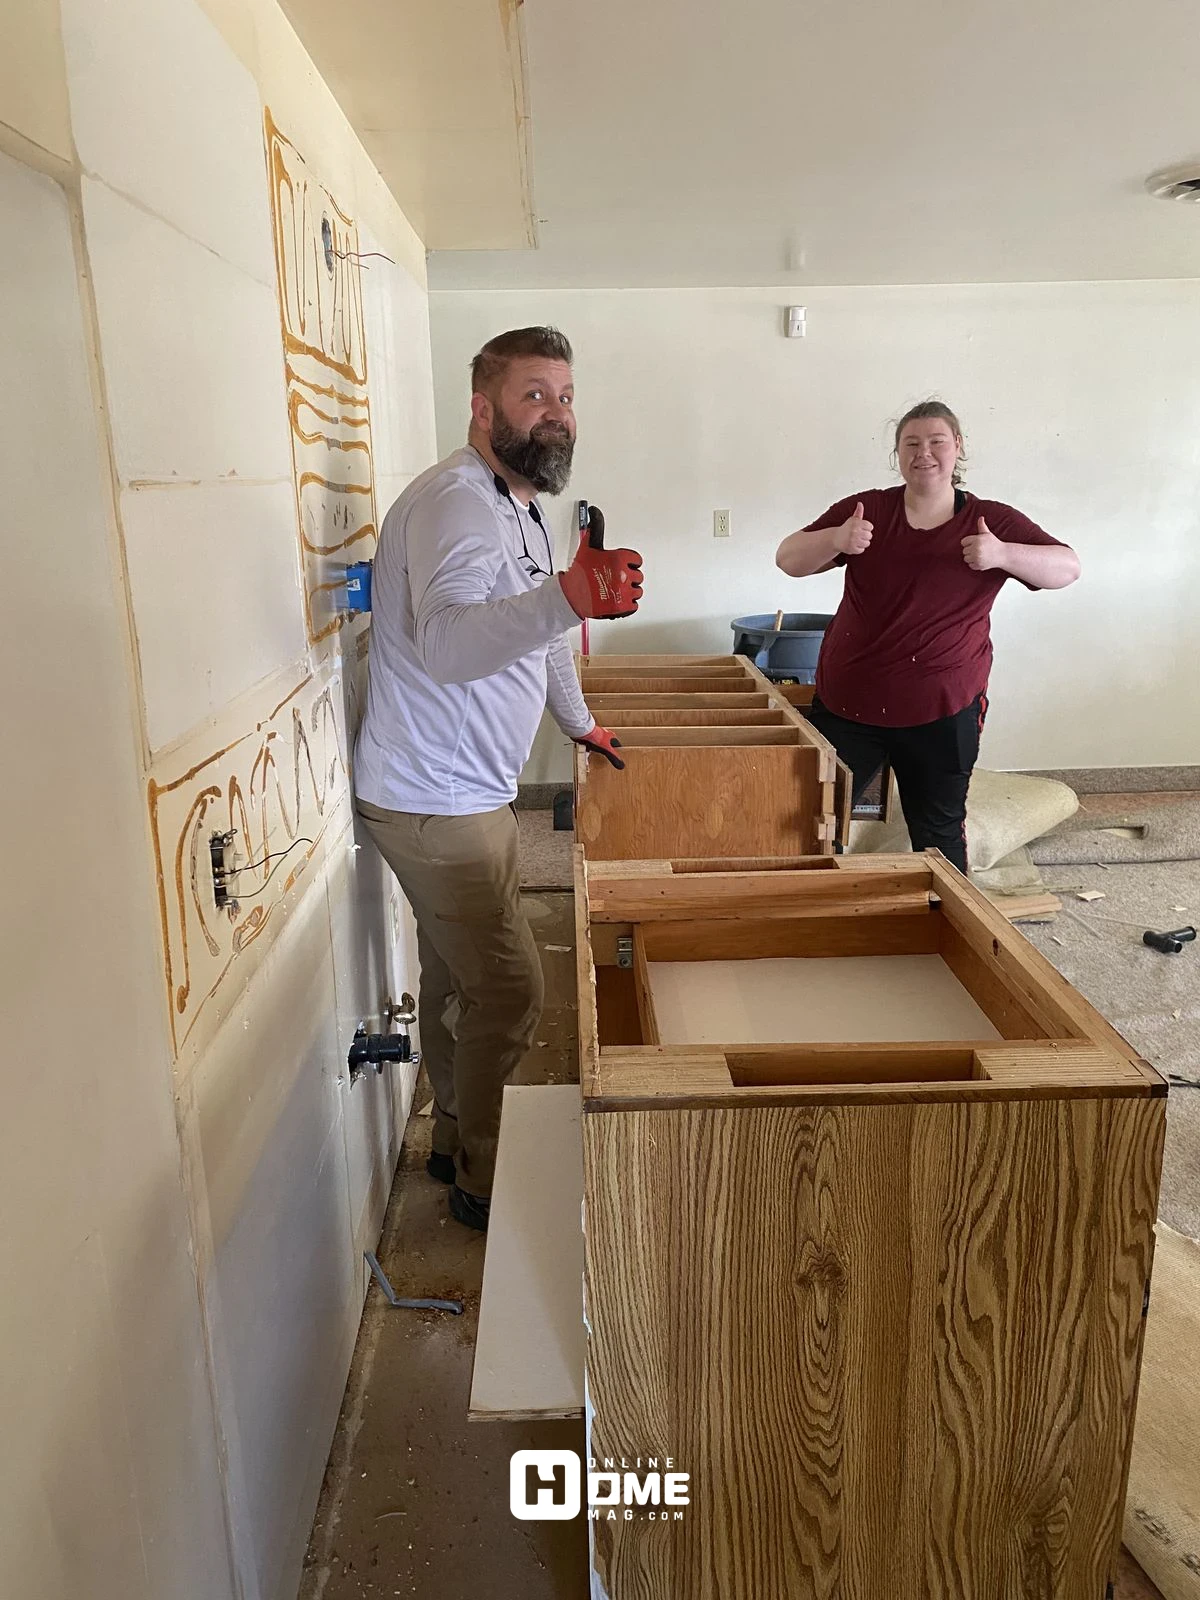
Step 3: Remove Hardware and Doors
Carefully remove all cabinet doors, drawers, and hardware (knobs, handles, hinges). Label each door/drawer and its corresponding location with painter’s tape to make reinstallation easier.
Place hardware in labeled plastic bags for safekeeping. Set up a workspace with plenty of ventilation — a garage or covered outdoor area works great.
Step 4: Clean Thoroughly
Over time, kitchen cabinets accumulate a layer of grease, dust, and grime that can prevent paint or stain from sticking. Use a degreaser like TSP to clean all surfaces thoroughly.
Tip: Wear gloves when using strong cleaners, and don’t skip this step — it’s one of the most important parts of successful DIY kitchen cabinet refinishing.

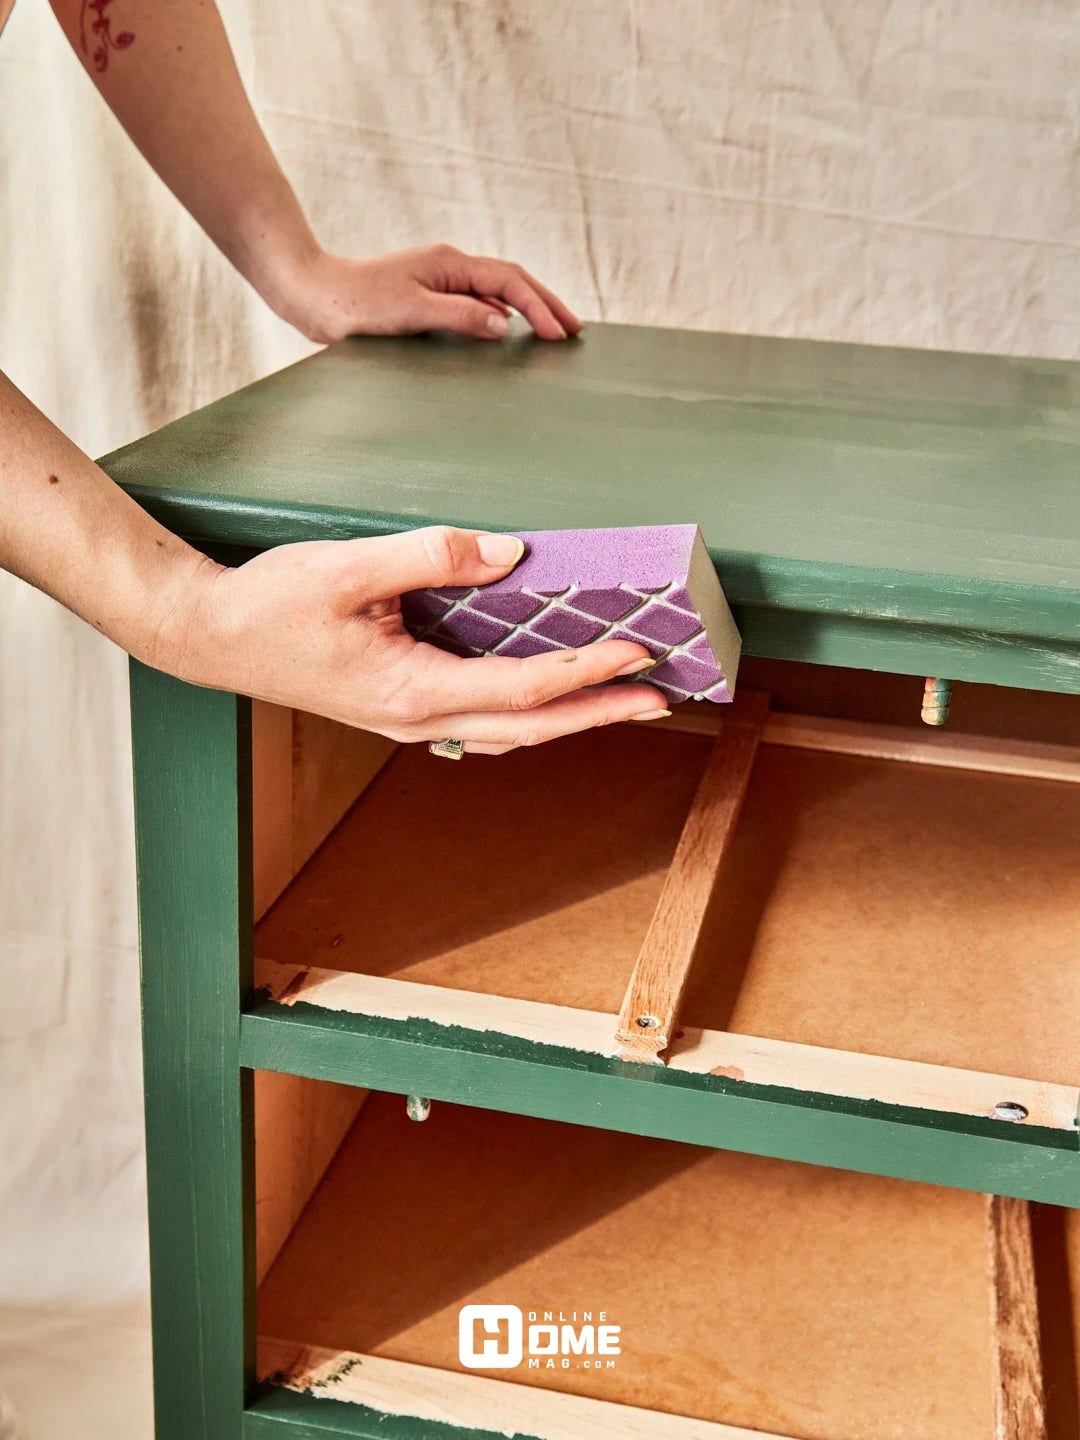
Step 5: Sand the Surfaces
Sanding helps remove old finishes and gives the new finish something to adhere to.
- Start with medium-grit sandpaper (120–150) to scuff the surface.
- Finish with fine-grit sandpaper (220) to smooth it out.
- Wipe with a tack cloth to remove all dust.
For laminate cabinets: Use a liquid deglosser instead of sanding — or use both, depending on the finish.
Step 6: Prime the Cabinets
Priming ensures better adhesion and improves paint coverage. Use a high-quality bonding primer and apply one or two thin coats. Allow adequate drying time (usually 4–6 hours between coats).
Tip: Use a foam roller for smooth surfaces and an angled brush for detailed areas.
Step 7: Paint or Stain
Now comes the fun part! Depending on the look you’re going for:
For Painting:
- Use two light coats of paint (either semi-gloss or satin).
- Latex paint is easier to clean, but oil-based lasts longer.
- Allow each coat to dry fully before applying the next.
For Staining:
- Choose a wood stain that matches your vision.
- Apply with a cloth or brush in the direction of the grain.
- Wipe off excess after 5–15 minutes.
- Let it dry completely before sealing.
Step 8: Apply a Topcoat (Optional but Recommended)
To protect your new finish, especially in a high-traffic area like the kitchen, apply a clear polyurethane topcoat or sealer.
- Use a water-based topcoat for lighter colors (oil-based can yellow over time).
- Apply 1–2 thin coats with a foam brush or roller.
- Lightly sand between coats for a flawless finish.
Step 9: Reattach Doors and Hardware
Once everything is dry and cured (at least 24–48 hours), reassemble your cabinets. Use your labeled tape markers to reattach doors and drawers in the correct order. Reinstall knobs, pulls, and hinges — or consider upgrading to new hardware for a modern touch.
Step 10: Final Touches
- Add shelf liners inside your cupboards for a clean, professional finish.
- Consider under-cabinet lighting to highlight your refinished work.
- Take a step back and admire your handiwork — you just completed a DIY kitchen cabinet refinishing project!
Pro Tips for DIY Kitchen Cabinet Refinishing
- Always work in a dust-free, well-ventilated area.
- Don’t rush drying times. Let coats cure completely for durability.
- Choose neutral or timeless colors for better resale value.
- Practice on a small area or unused cabinet if you’re a beginner.
- Consider replacing only the cabinet doors (called “refacing”) if frames are in poor condition.
Why Refinish Your Kitchen Cabinets Yourself?
Refinishing your kitchen cabinets through a DIY approach not only helps you save a significant amount of money, but it also allows you to create a personalized and unique kitchen space that perfectly fits your style and preferences. Instead of spending thousands of dollars on a full remodel, you can refresh your cabinets for a fraction of the cost.
This project gives you the freedom to choose your preferred colors, finishes, and textures, ensuring that your kitchen reflects your taste. Additionally, DIY refinishing can be a rewarding experience, offering you the opportunity to learn and develop new skills in home improvement. From sanding and priming to painting and finishing, each step allows you to take ownership of the transformation.
Beyond the financial benefits, refinishing your cabinets also offers a sense of accomplishment and satisfaction. It’s not just about the final result; it’s about the process of revamping your kitchen with your own hands. Plus, you’ll be able to enjoy your newly refreshed space, knowing that you did it all by yourself. Whether you go for a modern, sleek look or a more rustic, classic style, a DIY cabinet refinishing project can breathe new life into your kitchen without the expense of hiring professionals.
Mistakes to Avoid
- Skipping cleaning: Grease prevents paint from sticking.
- Not sanding: Even the best primer can’t bond to a glossy finish.
- Using cheap paint: It won’t last in a kitchen environment.
- Painting too thickly: Thick coats lead to drips and uneven finishes.
- Not labeling parts: You’ll regret it during reassembly.
DIY kitchen cabinet refinishing is a highly rewarding project that can completely transform your space for a fraction of the cost of remodeling. With patience, the right tools, and a methodical approach, you’ll have cabinets that look brand-new — and the satisfaction of knowing you did it yourself.
Whether you’re going for a classic white, a bold navy blue, or a rich espresso stain, your kitchen will look refreshed and custom-made without blowing your budget.