🕓 Last updated: August 5, 2025
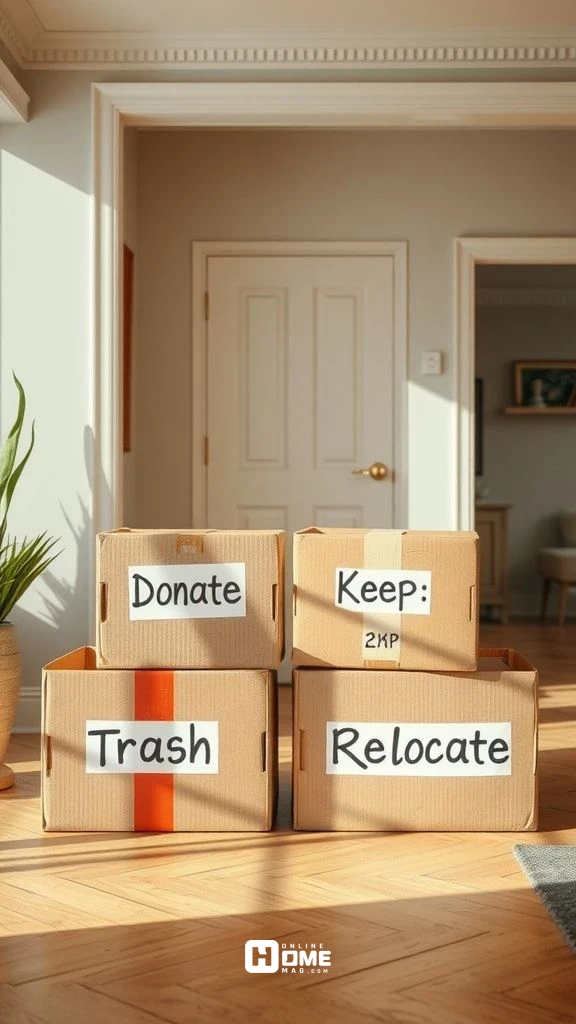
Step 1: Declutter to Better Arrange Kitchen Cupboards
Before you start to arrange kitchen cupboards effectively, you need a clean slate. Begin by removing every single item from the cupboards. Spread everything out on a table or countertop so you can see what you’re working with.
Tips to Declutter Like a Pro:
- Check expiration dates: Discard old canned goods, expired dry food, and stale spices.
- Get rid of duplicates: One cheese grater is enough—don’t keep four.
- Ditch the “just in case” items: Haven’t used it in over a year? Let it go.
- Donate what you don’t use: Unused gadgets can be a treasure for someone else.
By decluttering first, you’ll find it much easier to arrange kitchen cupboards in a way that’s organized, efficient, and truly works for your daily routine.
Step 2: Group Items by Category
Organizing your kitchen is easier when everything has a category. Before placing items back into your cupboards, sort them into logical groups:
- Daily-use dishes (plates, bowls, glasses)
- Cookware (pots, pans, baking trays)
- Dry goods (rice, pasta, flour, cereal)
- Canned goods and jarred items
- Snacks and quick eats
- Spices and condiments
- Storage containers and lids
- Small appliances (blender, toaster, food processor)
Grouping similar items helps you locate things quickly and keeps your kitchen running smoothly.
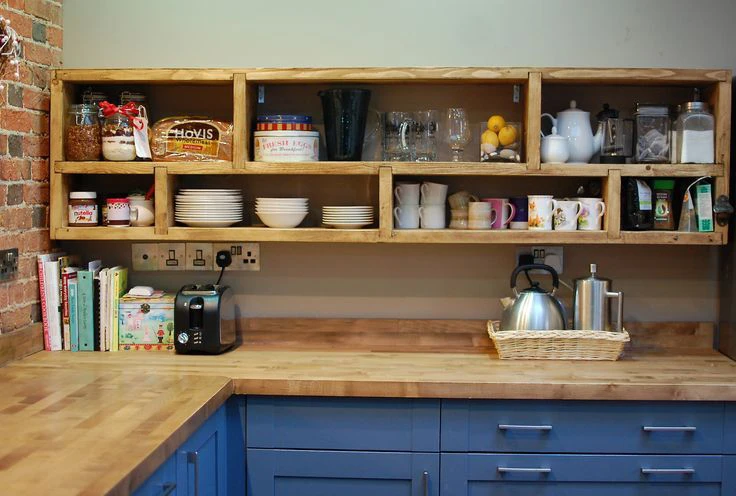
Step 3: Plan Based on Zones
Your kitchen already has “zones,” whether you realize it or not. A smart way to arrange kitchen cupboards is by setting up each zone intentionally:
- Cooking Zone
Keep pots, pans, cooking utensils, oils, and spices near the stove. - Prep Zone
Store cutting boards, mixing bowls, knives, and measuring cups near your main counter space. - Dish Zone
Place everyday dishes, cups, and mugs near the dishwasher or sink for easy unloading and access. - Pantry Zone
Use a designated cupboard or two to keep dry goods, snacks, and canned food organized. - Baking Zone
Group together baking sheets, cake pans, mixers, flour, sugar, and other baking ingredients.
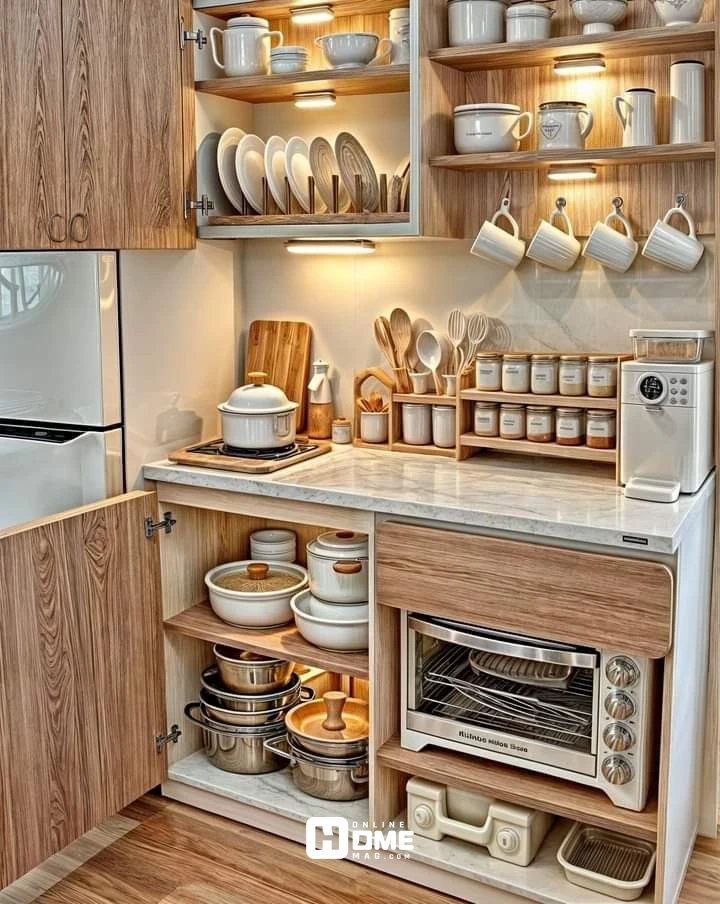
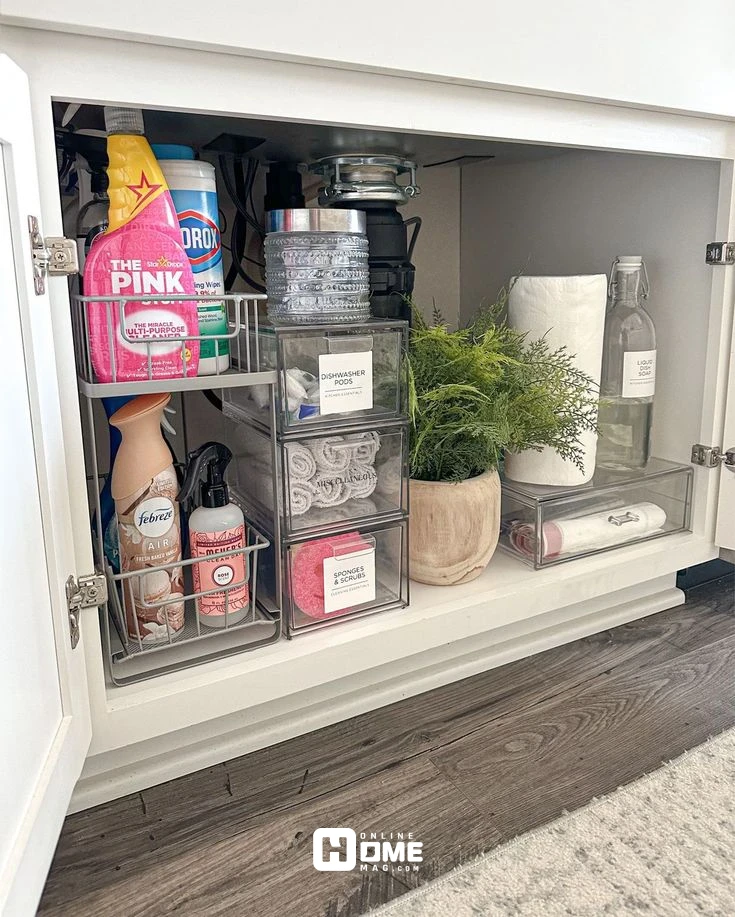
Step 4: Use Containers and Dividers
You don’t need expensive organizing systems. Simple baskets, bins, and shelf risers can work wonders when you arrange kitchen cupboards.
Useful Tools to Try:
- Clear plastic bins for snacks or kids’ lunches
- Turntables (Lazy Susans) for oils and sauces
- Shelf risers to double vertical space for plates or mugs
- Drawer dividers to separate utensils or towels
- Stackable containers for pasta, rice, or cereal
Label containers if you want to make everything foolproof especially helpful in households with kids or guests.
Step 5: Store According to Frequency of Use
Think about how often you use each item and arrange your kitchen cupboards accordingly:
- Everyday items (coffee mugs, cereal bowls) go on lower, easy-to-reach shelves.
- Occasional items (large platters, baking tools) can go up high.
- Rarely-used items (holiday trays, fondue set) go in the back or hardest-to-reach spots.
This method reduces clutter and prevents frustration during daily cooking or cleaning.
Step 6: Maximize Awkward Spaces
Many kitchens have weird corner cabinets or deep shelves. Don’t let that space go to waste.
Smart Solutions for Odd Spaces:
- Lazy Susans make deep corners more accessible.
- Pull-out racks bring hard-to-reach items forward.
- Tension rods inside cupboards can create extra hanging or dividing space.
- Under-shelf baskets add an extra layer of storage.
Get creative with tools that help you make the most of every inch.
Step 7: Keep the System Going
Organizing your kitchen isn’t a one-time thing. Once you arrange your kitchen cupboards, set up habits to maintain the system:
- Return items to their place after each use.
- Reevaluate every few months and re-declutter.
- Label things that tend to get misplaced.
- Train the rest of the household to follow the setup.
Consistency is key to keeping your kitchen tidy and functional long term.
Bonus Tips for Small Kitchens
Living in a small apartment or tiny house? Here’s how to arrange kitchen cupboards in tight spaces:
- Use the insides of cupboard doors for storing lids, spices, or wraps.
- Add extra shelves or hanging baskets to increase storage.
- Mount a pegboard for utensils or pots and pans.
- Use vertical dividers for cutting boards or trays.
Don’t be afraid to go vertical, think modular, and keep only what you truly need.
Styling Your Cupboards: Why It Matters
Even inside your cabinets, a touch of style adds joy to everyday tasks.
Quick Style Tips:
- Use matching baskets or glass jars for a clean look.
- Line your shelves with removable wallpaper or liners.
- Add hooks inside doors for tools or mugs.
Organizing isn’t just functional — it can be beautiful, too.