
Why Clean the Inside of Your Refrigerator?
A Step-by-Step Guide to Thoroughly Clean the Inside of Your Refrigerator
Keeping your refrigerator clean is essential for maintaining a fresh and hygienic environment in your kitchen. Not only does a clean fridge prevent odors, but it also ensures that your food remains safe and fresh. Over time, spills, crumbs, and expired items can accumulate, creating a breeding ground for bacteria and mold. Regularly cleaning the inside of your refrigerator is the key to avoiding these issues.
In this guide, we’ll explain step by step how to clean the inside of your refrigerator, from emptying it out to maintaining its cleanliness for the long term. Follow the steps below for a thorough and efficient cleaning process:
Step 1: Empty the Refrigerator
The first step in how to clean the refrigerator inside is to remove everything. This includes all food, beverages, and any other items you store in your fridge. Take this opportunity to inspect each item and check expiration dates. Discard anything that is expired or no longer safe to eat. Also, consider donating any items you won’t use before they go bad.
Step 2: Remove Shelves and Drawers
Once your refrigerator is empty, take out any removable shelves, drawers, and trays. These can usually be easily lifted out, allowing you to clean them separately. If your fridge has adjustable shelves, now is a great time to rearrange them if needed to accommodate larger items or make better use of the available space.
Step 3: Clean the Shelves and Drawers
To clean the shelves and drawers, wash them with warm soapy water. You can use a mild dish detergent for this purpose. Avoid using harsh chemicals as they may leave residue behind that could contaminate food. If there are any stubborn stains, use a baking soda paste (baking soda mixed with a small amount of water) to gently scrub the surfaces. Baking soda is a natural cleaner that’s safe to use around food and helps eliminate odors.
For more stubborn stains or dried-on spills, let the shelves soak in warm, soapy water for a while before scrubbing. If your fridge shelves are glass, be sure to dry them thoroughly after cleaning to prevent streaks and watermarks.
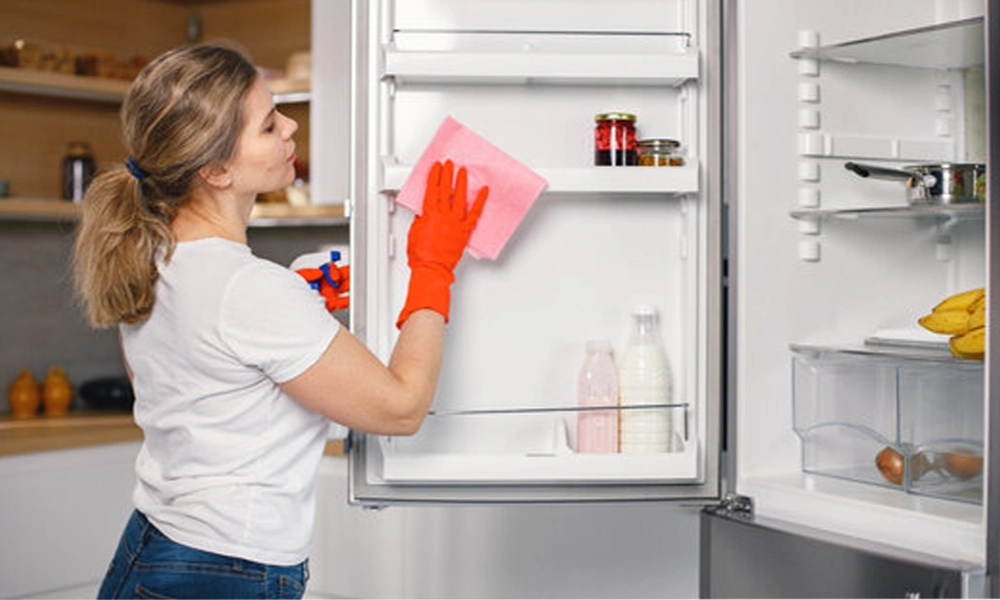
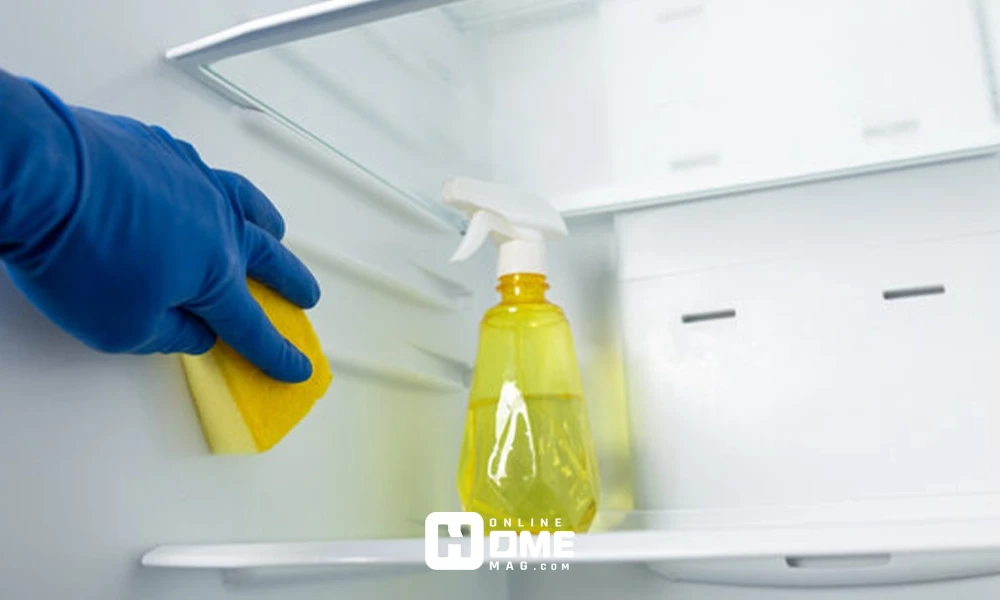
Step 4: Clean the Interior of the Refrigerator
Now, it’s time to clean the inside of the refrigerator itself. Use a solution of warm water and a small amount of mild dish soap or white vinegar. Vinegar is an excellent natural cleaner and deodorizer, making it ideal for cleaning the inside of your fridge. Avoid harsh cleaners, especially those with strong fragrances, as these can leave residues that might affect the taste or smell of your food.
Start by wiping down the interior walls, door compartments, and the ceiling. Use a sponge or soft cloth to gently scrub away any spills, stains, or food residue. For tough spots or built-up grime, you can apply a mixture of equal parts vinegar and water and let it sit for a few minutes before scrubbing.
When cleaning the door seals, pay attention to the rubber gaskets that form the seal. These can accumulate crumbs and grime. Wipe them down with a soft cloth or an old toothbrush dipped in soapy water to ensure they remain flexible and effective.
Step 5: Clean the Refrigerator Coils
The refrigerator coils, usually located on the back or underneath the fridge, are another crucial area to clean. These coils help the fridge maintain its temperature, and if they become clogged with dust and dirt, it can affect the fridge’s efficiency.
To clean the coils, first unplug the refrigerator. Use a coil brush (or a vacuum with a brush attachment) to gently clean off the dust and debris. If you’re unsure where the coils are located, consult your refrigerator’s manual for guidance. Cleaning these coils every six months or so can help your fridge run more efficiently and last longer.
Step 6: Wipe Down the Exterior
While the interior is the focus of the cleaning process, don’t forget the exterior of the fridge. The outside of the fridge is exposed to fingerprints, spills, and dust. Wipe down the front, sides, and handles with a damp cloth to remove smudges and dirt. For stainless steel refrigerators, you can use a specific stainless steel cleaner to remove streaks and restore the shine.
Step 7: Organize Your Refrigerator
Once the inside of your refrigerator is clean and dry, it’s time to organize it. The goal is to arrange your food in a way that maximizes space, ensures food stays fresh, and allows you to easily find what you need. Keep raw meat at the bottom of the fridge in a designated drawer to avoid cross-contamination, and place ready-to-eat foods like fruits, veggies, and leftovers at eye level.
Use clear containers or bins to group similar items together. Labeling your items and arranging them in a way that older items are used first can help reduce food waste. You may also want to keep a thermometer inside your fridge to ensure it is operating at the proper temperature (between 35°F and 38°F).
Step 8: Maintain Your Refrigerator’s Cleanliness
Now that you’ve thoroughly cleaned the inside of your fridge, it’s important to maintain that cleanliness. Wipe down spills as soon as they occur to prevent them from building up. Regularly check the contents of your fridge for expired items and dispose of them promptly. Once a month, do a quick wipe of the interior to ensure everything stays fresh.

steps for cleaning the inside of your refrigerator
| Step | Description |
| 1. Empty the Refrigerator | Remove all food and beverages. Check expiration dates and discard expired items. |
| 2. Remove Shelves & Drawers | Take out removable shelves, drawers, and trays for separate cleaning. |
| 3. Clean Shelves & Drawers | Wash with warm, soapy water or use a baking soda paste for stubborn stains. |
| 4. Clean the Interior | Wipe down walls, door compartments, and the ceiling with vinegar or soapy water. |
| 5. Clean the Coils | Unplug the fridge and vacuum or brush off dust and debris from the coils. |
| 6. Wipe Down the Exterior | Clean the outside, including handles, with a damp cloth or stainless steel cleaner. |
| 7. Organize the Refrigerator | Arrange food logically, keeping raw meat at the bottom and easy-to-reach items at the top. |
| 8. Maintain Cleanliness | Regularly wipe spills, check for expired food, and clean the interior monthly. |
Tips for Keeping Your Refrigerator Smelling Fresh
One common issue with refrigerators is unpleasant odors. To keep your fridge smelling fresh between cleanings, consider these tips:
- Use Baking Soda: Place an open box of baking soda in the back of your fridge to neutralize odors. Replace it every three months for the best results.
- Lemon or Vanilla Extract: You can also place a small dish of lemon slices or vanilla extract inside the fridge to keep it smelling fresh.
- Activated Charcoal: Some people use activated charcoal as a natural deodorizer. It absorbs moisture and odors, keeping the fridge smelling neutral.
How Often Should You Clean the Inside of Your Refrigerator?
To keep your fridge in top shape, aim to clean the inside thoroughly at least every three to four months. However, if you have spills or food that has expired, you should clean it immediately. Regular maintenance ensures that your refrigerator remains efficient, fresh, and free from bacteria.
Conclusion
In conclusion, cleaning the inside of your refrigerator is an essential task that helps maintain a healthy and organized kitchen. By following the steps outlined above, you can ensure that your refrigerator remains spotless, efficient, and free of unpleasant odors. Regular cleaning also extends the lifespan of your fridge, improves food safety, and keeps your kitchen smelling fresh.
Now that you know how to clean the refrigerator inside, it’s important to stay on top of maintenance by regularly checking for expired food, wiping down spills, and organizing the contents of your fridge. With a little effort, you can enjoy a clean, efficient fridge that helps your food stay fresh longer. For more tips on home maintenance and organization, you can refer to resources like Online Home Mag, which provides helpful guides and advice for keeping your home in top shape.