🕓 Last updated: October 22, 2025
How to clean refrigerator water dispenser
To maintain the freshness of the water you drink and ensure your water dispenser works efficiently, regular cleaning is essential. Over time, mineral buildup, bacteria, and mold can accumulate in the dispenser, affecting both the taste of the water and the appliance’s performance. To prevent these issues and maintain optimal functionality, it’s important to clean your water dispenser regularly. Here’s a step-by-step guide on how to clean your refrigerator water dispenser.
If you want to keep all parts of your refrigerator in good condition, cleaning the water dispenser is just one of the necessary steps. It’s also important to periodically check and clean the rest of your appliance. Regularly checking how to clean refrigerator and ensuring the entire fridge is properly cleaned will help prevent dirt and residue buildup, keeping your appliance working effectively.
By following a few simple steps, you can keep your water dispenser in top condition, ensuring clean, fresh water every time you use it. Regular cleaning also contributes to the longevity of your refrigerator and improves the overall quality of the water you consume.
1. Turn off the Fridge Water Dispenser
Before starting, ensure the fridge’s water dispenser is turned off. This step prevents water from flowing during cleaning and makes the process safer. If your fridge has a water valve connected to the dispenser, locate it and shut it off to avoid spills when removing the water dispenser parts.
2. Remove the Water Tray and Dispenser Parts
Take out the water tray or drip pan, if your fridge has one. These parts can collect water and debris over time, so it’s important to clean them thoroughly with warm, soapy water. After washing, allow them to dry completely to avoid any moisture buildup before placing them back in the fridge.
3. Clean the Water Dispenser Nozzle
The nozzle where the water is dispensed can accumulate mineral deposits or mold, affecting water quality. Mix equal parts water and vinegar in a bowl, then soak a cloth or sponge in the mixture to wipe down the nozzle and surrounding areas. If there’s significant buildup, gently scrub the nozzle with a toothbrush dipped in the vinegar solution to remove any stubborn residue.
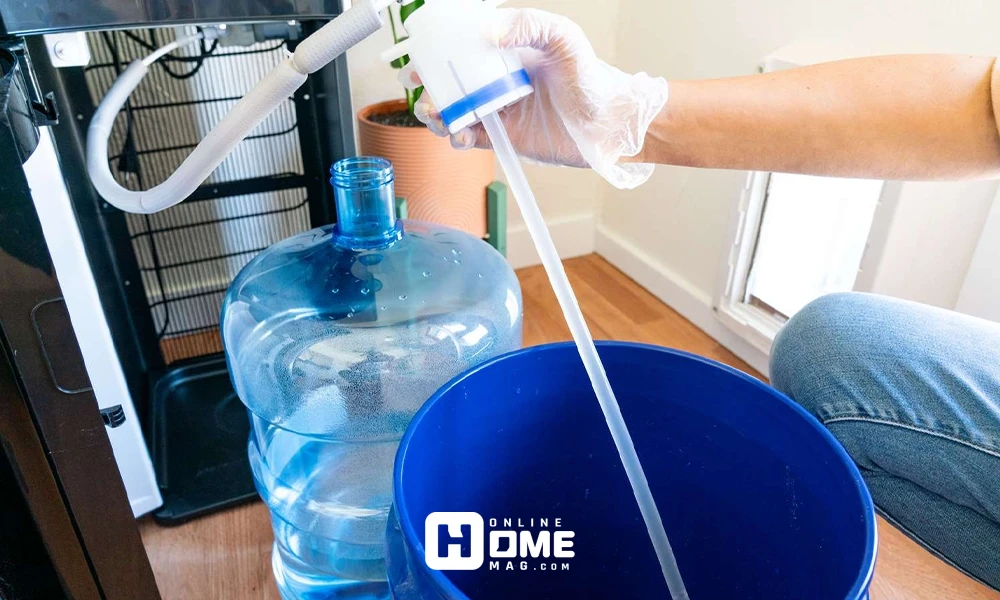
4. Flush the Water Lines
Flushing the water lines ensures that any lingering bacteria or mineral deposits are removed from the system. To do this, mix water and vinegar in a pitcher (1 cup of vinegar to 3 cups of water) and pour it into the water reservoir. Dispense water from the fridge’s water dispenser until the solution is fully flushed through, ensuring clean water flows freely.
5. Wipe Down the Exterior
The exterior of the water dispenser should also be cleaned to remove fingerprints, dust, and other grime. Use a mild cleaning solution or disinfectant on a cloth to wipe the outer surface. Once cleaned, ensure the area is completely dry to prevent moisture buildup, which could attract bacteria.
6. Reassemble the Parts
After cleaning all components, carefully put them back together. Make sure that every part, including the water tray, nozzle, and any other removable pieces, is properly reassembled to avoid leaks. Be sure to check that all connections are secure before turning the water back on.
7. Check for Proper Function
Once you’ve reassembled everything and turned the water supply back on, check the dispenser to ensure it is working correctly. Dispense some water to verify that it’s flowing smoothly and that the dispenser is dispensing clean, fresh water. This will also ensure no leaks have developed after removing the water dispenser parts.
8. Regular Maintenance
To prevent future buildup, it’s important to clean the water dispenser every few months. Regularly replacing the water filter (if your fridge has one) is also crucial for maintaining the quality of the water. Consider setting a reminder to check and clean the dispenser periodically to keep it functioning properly.
Tips to Keep a Water Dispenser Clean
A water dispenser is a convenient appliance, but to ensure it remains hygienic and functional, regular cleaning and maintenance are essential. Over time, water dispensers can accumulate minerals, bacteria, and grime, which can affect both the taste of your water and the performance of the dispenser. By following a few simple steps, you can keep your water dispenser in pristine condition, ensuring that it consistently delivers clean, fresh water. Here are some practical tips to help you maintain a clean water dispenser:
1. Regularly Clean the Nozzle
The nozzle is the most important part of the dispenser since it is where the water is dispensed. It can easily accumulate minerals, bacteria, and debris, which could affect the quality of the water you drink. To keep it clean, wipe the nozzle with a damp cloth soaked in a mixture of water and vinegar at least once a week. This helps dissolve any mineral deposits and prevents bacteria growth. Pay close attention to the surrounding areas of the nozzle, as spills and water drips can leave behind residues that may harbor germs. Cleaning the nozzle regularly will ensure that the water you dispense stays fresh and safe to drink.
2. Replace the Water Filters
Most modern refrigerators and water dispensers come equipped with built-in water filters. These filters help remove contaminants like chlorine, sediment, and other impurities from the water. Over time, these filters can become clogged, reducing their efficiency and compromising water quality. It’s essential to replace the water filter according to the manufacturer’s instructions—typically every 6 to 12 months. Regular filter replacement ensures that your water is always fresh and free of harmful particles. Additionally, a new filter will help prevent the buildup of minerals and bacteria inside the dispenser, making it easier to maintain a clean appliance.
3. Flush the Water Lines
To keep your water dispenser in top shape, you should also flush the water lines every few months. This will help prevent mineral buildup and bacterial growth inside the pipes. To do this, fill the water reservoir with a solution of one part water and one part white vinegar, and run the dispenser until the solution has been dispensed through the system. Let it sit for a few minutes, then flush the lines by dispensing clean water for several cycles to ensure the vinegar solution is completely rinsed out. This process will not only keep the water lines clear but also ensure that the dispenser functions properly, preventing any clogs or malfunctions.
4. Wipe Down the Exterior
While the interior of the dispenser is important to clean, don’t forget the exterior. The surface of the dispenser can accumulate dust, fingerprints, and moisture, which can lead to grime and mold growth if not cleaned regularly. Use a mild cleaning solution or a mixture of warm water and dish soap to wipe down the exterior of the dispenser. Pay attention to areas such as the base, sides, and any buttons or switches. Cleaning the exterior will not only keep the dispenser looking neat but will also reduce the risk of germs spreading to the nozzle or other parts of the appliance.
5. Empty and Clean the Drip Tray
Most water dispensers have a drip tray that catches any excess water or spills that occur while using the appliance. This tray can quickly become a breeding ground for mold and mildew if not cleaned regularly. Empty the drip tray at least once a week, and wash it with warm, soapy water to prevent any residue from building up. Dry it thoroughly before replacing it to avoid any stagnant water from being left behind. Keeping the drip tray clean will not only maintain the hygiene of the dispenser but also prevent unpleasant odors from developing.
6. Turn Off the Water Supply When Not in Use
If you’re planning to leave your home for an extended period or you don’t intend to use the water dispenser for a while, it’s a good idea to turn off the water supply. Doing so prevents any stagnant water from sitting in the dispenser’s pipes for an extended period, which can lead to bacterial growth or leaks. This simple step will also help avoid the risk of water damage to the appliance, particularly if there are any issues with the water line or dispenser mechanism.
7. Check for Leaks and Malfunctions
Water dispensers can sometimes develop leaks or malfunctions, which could lead to water damage or inefficiency. Regularly check the appliance for any signs of leaks, cracks, or damaged components. If you notice any issues, address them immediately to prevent further damage. Ensure the water line connections are secure, and inspect the dispenser nozzle for any cracks or buildup that might be obstructing the flow of water.
8. Maintain the Water Temperature
For those with a dispenser that offers hot or cold water, maintaining the right temperature is essential not just for convenience but for cleanliness as well. If the water is too hot or too cold, it may promote bacterial growth or affect the taste of the water. Follow the manufacturer’s recommendations for setting the optimal temperature and regularly check to ensure the water is dispensed at the desired temperature.
9. Use Safe Water Sources
Lastly, the quality of the water you put into the dispenser plays a big role in how often you need to clean it. Always use clean, filtered, or bottled water to avoid the introduction of impurities and minerals that can accumulate in the system over time. If you’re using a built-in water supply, make sure your plumbing is in good condition and free from contaminants.