🕓 Last updated: August 5, 2025
Why Choose to Install Kitchen Cabinets Yourself?
Learning how to install kitchen cabinets can save you a lot in labor costs and give you full control over the design and layout of your kitchen. It also lets you work at your own pace and make adjustments along the way — something not always possible with contractors.
Some of the biggest benefits include:
- Cost-effectiveness
- Custom layout adjustments
- Better understanding of your kitchen space
- The satisfaction of DIY success
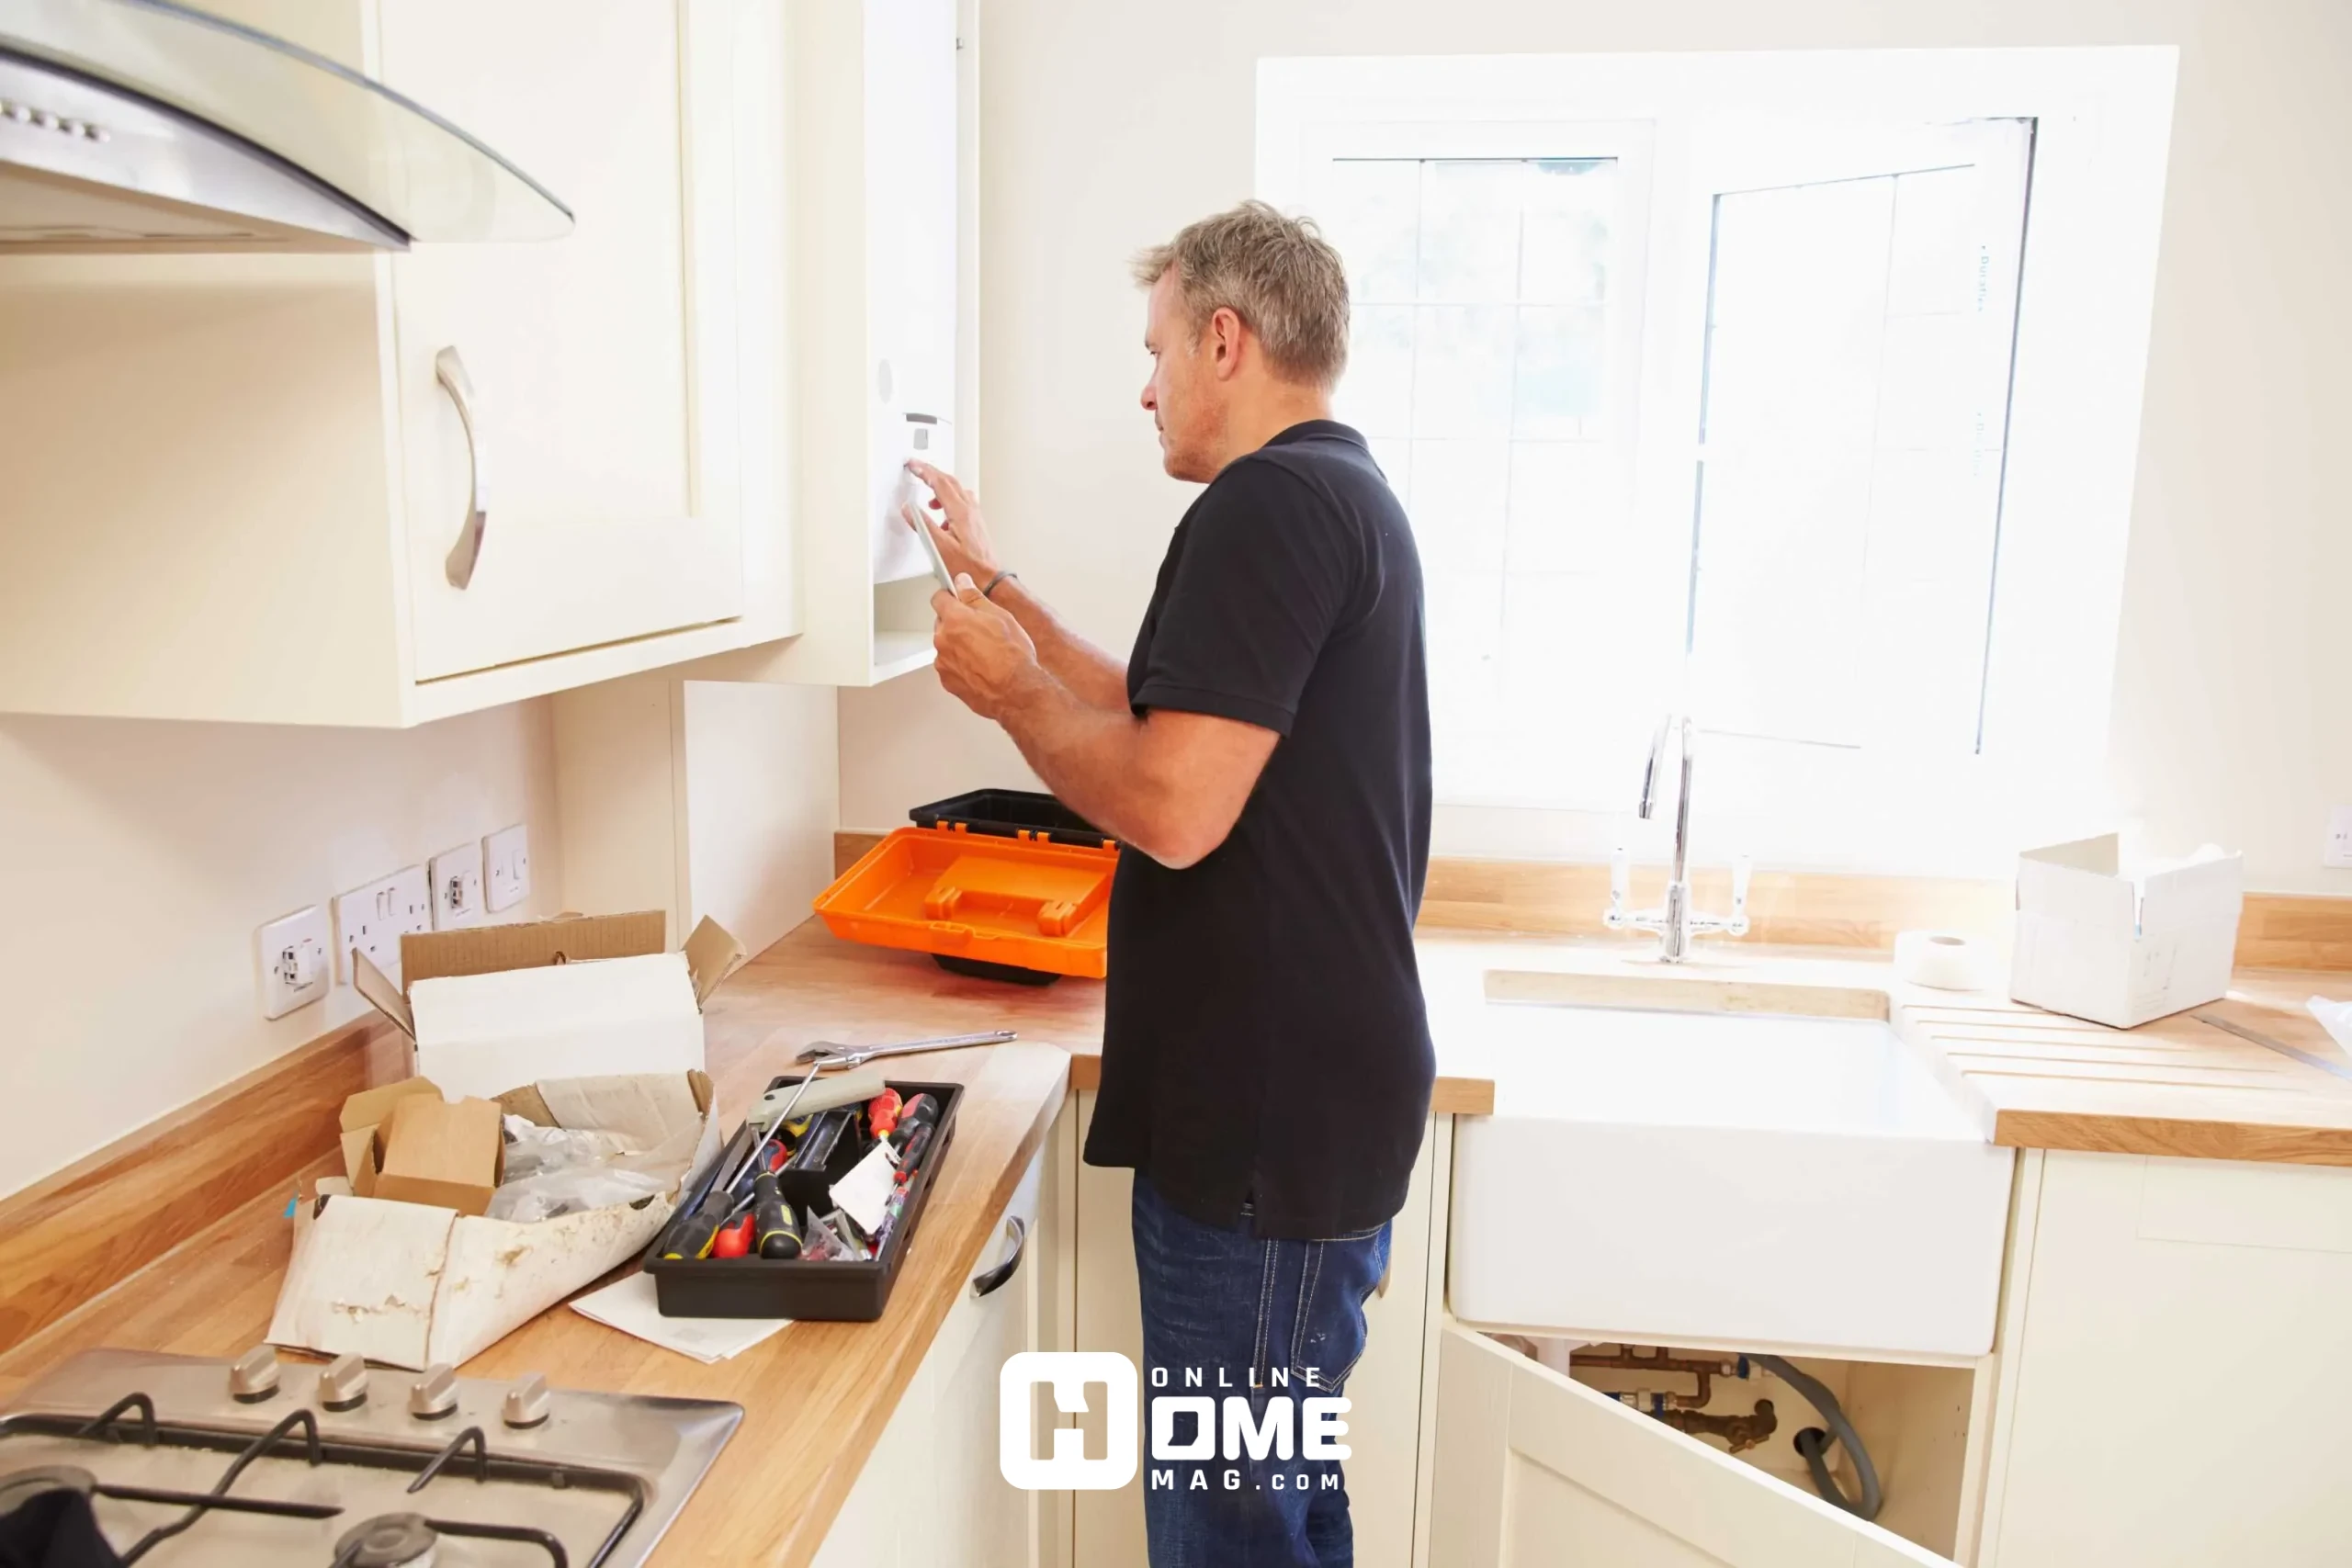
What You’ll Need Before You Begin to Install Kitchen Cabinets
Before you install kitchen cabinets, make sure you’re fully prepared with the right tools and materials.
Essential Tools:
- Tape measure
- Stud finder
- Level
- Drill and screwdriver bits
- Wood screws
- Shims
- Clamps
- Pencil and chalk line
- Ladder or step stool
Materials:
- Wall cabinets
- Base cabinets
- Ledger board (temporary support)
- Cabinet screws
- Cabinet filler strips and end panels (if needed)
- Toe kicks and trim
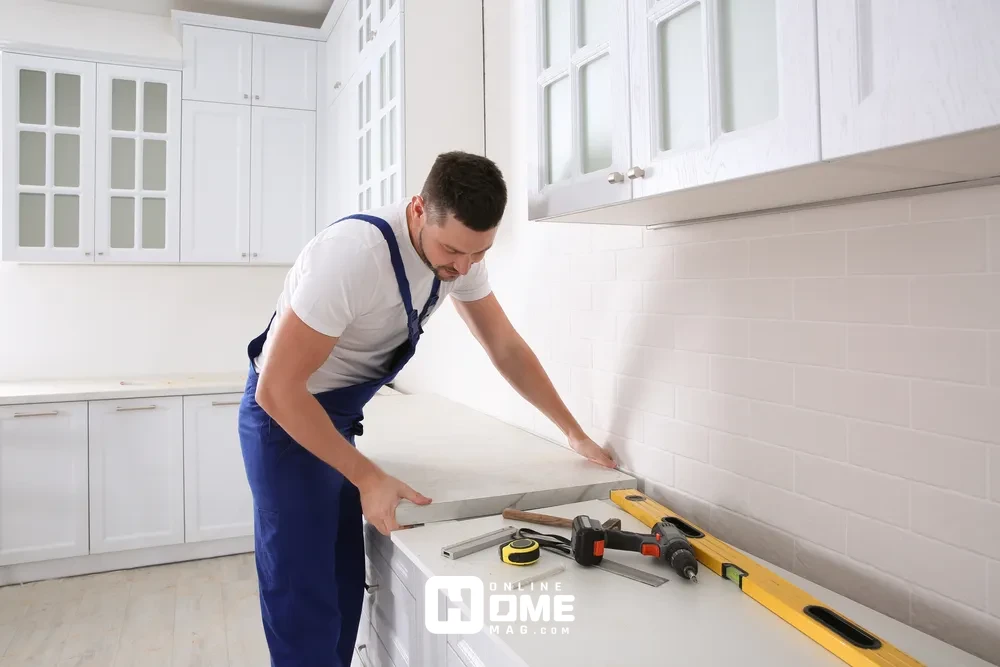
Step-by-Step Guide to Install Kitchen Cabinets Like a Pro
Learn how to install kitchen cabinets with confidence using this clear, step-by-step guide — perfect for DIYers who want professional-looking results.
1. Planning and Measuring Before You Install Kitchen Cabinets
Good planning is the foundation of a successful cabinet installation. Begin by carefully measuring your kitchen space — including floor-to-ceiling height, wall lengths, and appliance spaces.
Tips for planning layout:
- Wall cabinets typically start 54 inches from the floor (18 inches above standard countertops).
- Base cabinets are usually 34½ inches tall.
- Always account for fridge, stove, and dishwasher dimensions.
- Mark stud locations for future anchoring.
Sketch your kitchen layout on graph paper or use free online design tools.
2. Stud Finding and Wall Marking for Accurate Anchoring
Use a stud finder to locate the wall studs and mark them lightly with a pencil. This is where you’ll anchor the cabinets to ensure they’re securely fastened to the framing of your home — an essential part of how to install kitchen cabinets correctly.
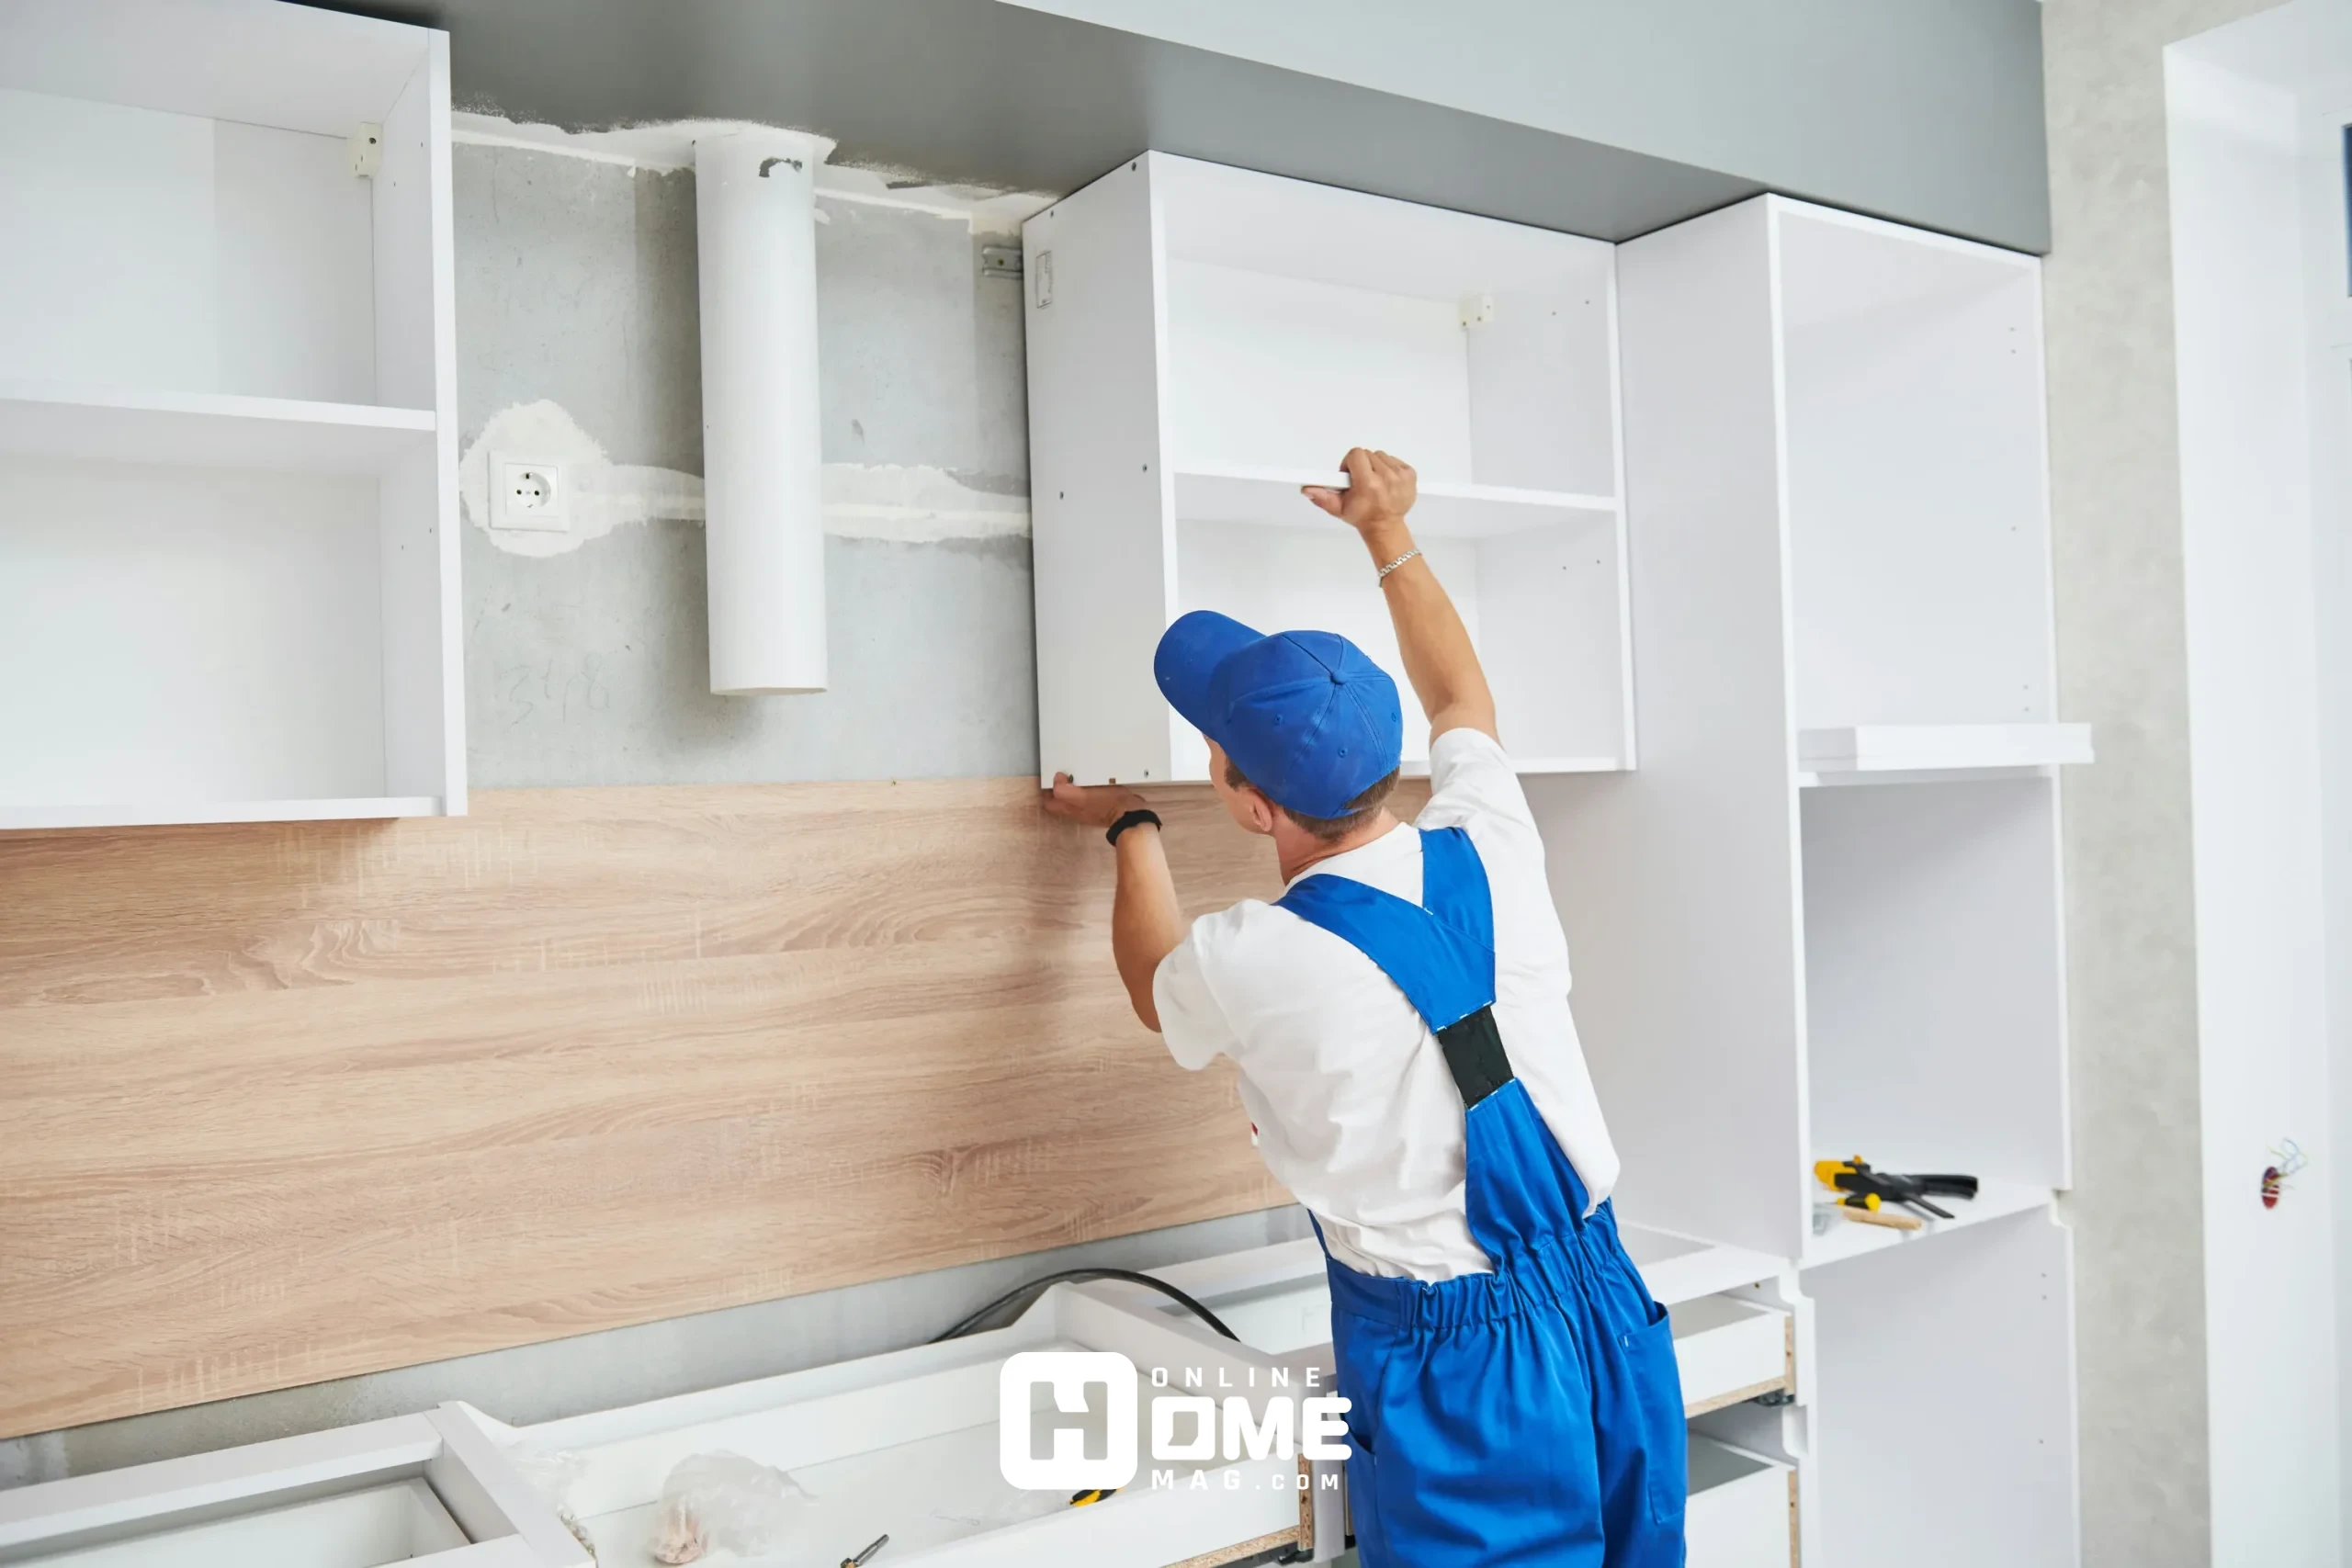
3. Installing Wall Cabinets First for Better Access
It may feel counterintuitive, but it’s much easier to install kitchen cabinets on the wall first. If you begin with base cabinets, it becomes harder to maneuver and level the wall units above them.
How to Install Wall Cabinets:
- Screw a ledger board into the wall at the line you marked for the bottom of the wall cabinets. This temporary support will hold the cabinets in place while you secure them.
- Drill pilot holes in the cabinet backs for mounting screws (aligned with stud locations).
- Lift and position the cabinet on the ledger board and drive screws through the pilot holes into the studs.
- Attach adjacent cabinets together using clamps and screws through the side frames (called the face frames).
- Check for level and plumb after each cabinet before moving to the next.
Remove the ledger board once all wall cabinets are securely fastened.
4. Placing and Securing Base Cabinets with Precision
Now that the wall cabinets are in place, move on to the base cabinets.
How to Install Base Cabinets:
- Start from a corner or end.
- Place the cabinet in position and use a level to check for evenness. Shim the base if needed.
- Mark stud locations and screw the cabinet to the wall through the back panel.
- Continue installing each base cabinet one by one, checking for level and alignment.
- Secure adjacent cabinets together by screwing through their side panels.
Always leave space for appliances and double-check alignment at every step.
5. Filling the Gaps with Cabinet Fillers and End Panels
Rarely will your kitchen space fit the cabinet layout perfectly. That’s where filler strips and end panels come in.
- Cabinet fillers bridge gaps between cabinets and walls.
- End panels give your cabinet sides a clean, finished look, especially if they’re exposed.
Cut fillers to size and secure them using screws from inside the cabinet.
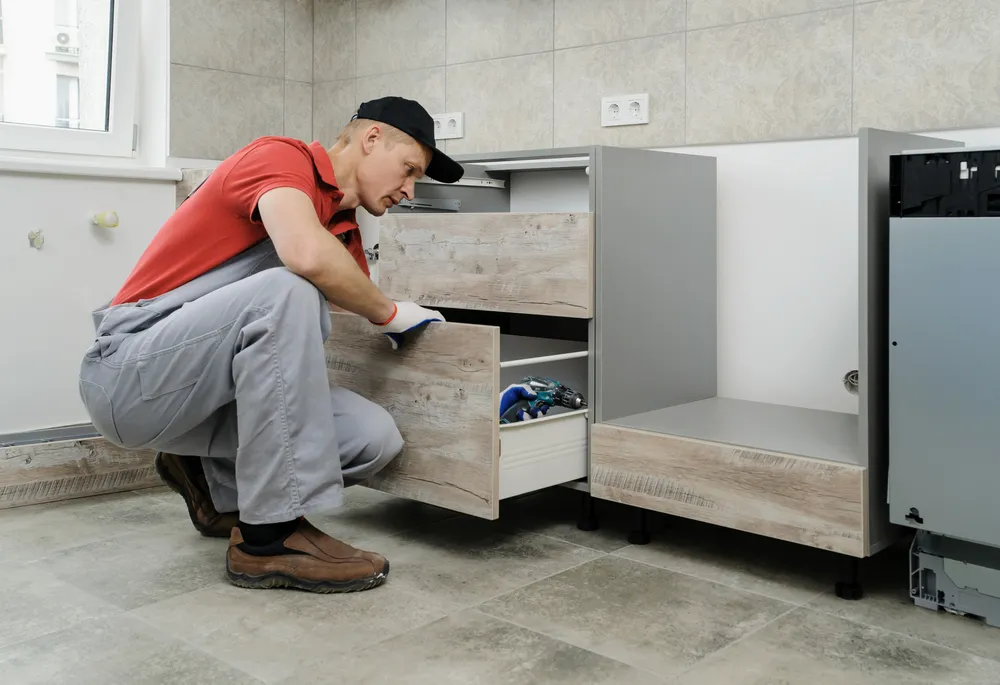
6. Installing Doors, Drawers, and Internal Shelves
Most RTA (ready-to-assemble) or semi-custom cabinets come with doors and drawers detached.
- Install doors by attaching the hinges and adjusting them for alignment.
- Insert drawers using the manufacturer’s sliding mechanism.
- Install adjustable shelves as needed.
This step is crucial to achieving a uniform, polished cabinet front.
7. Final Touches: Toe Kicks and Decorative Molding
For a professional look, finish your installation with toe kicks and molding.
- Toe kicks snap or screw onto the bottom of base cabinets to hide legs or shims.
- Crown molding or trim adds elegance and hides any ceiling gaps above wall cabinets.
This is the step that ties everything together.
Bonus: Pro Tips for a Smooth Installation
- Always double-check your level — even slight misalignment can be obvious.
- Pre-drill all screw holes to prevent splitting wood.
- Use clamps to hold cabinets together tightly when screwing.
- Measure twice, cut once — especially when trimming fillers or panels.
- Use temporary blocks or jacks to hold cabinets in place when working alone.
Common Mistakes to Avoid When You Install Kitchen Cabinets
Avoiding these errors can save you time, money, and headaches:
- Not securing cabinets into studs
- Skipping shims and installing on uneven flooring
- Starting with base cabinets instead of wall cabinets
- Forgetting to check for plumb and level
- Overtightening screws and damaging the cabinet frame
Remember, patience and precision are your best friends when installing cabinets.